
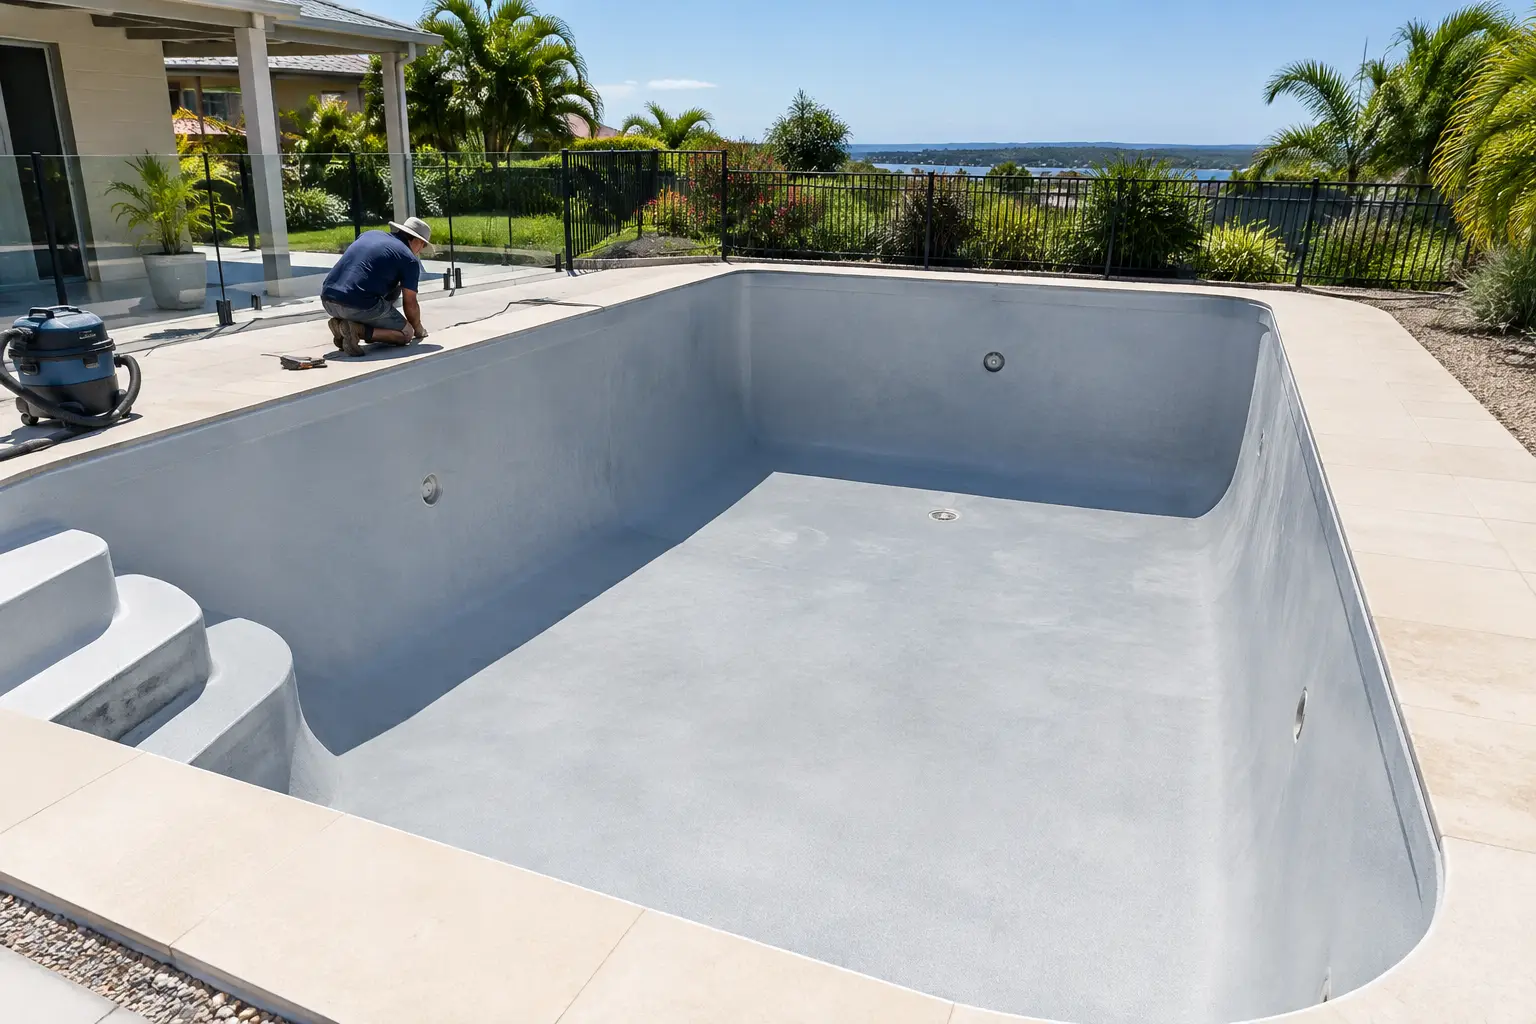
A pool can look ready for a fresh coat of paint while hiding the exact problem that caused the last coating to fail. These pool coating project examples show how the correct system depends on the pool shell, the existing coating and the preparation – not simply the colour you want to apply.
The common thread is simple: identify what is on the pool now before ordering paint. Applying a new two-pack epoxy coating over an incompatible old coating, or skipping the required primer on a difficult surface, can lead to peeling, blistering or a finish that fails far sooner than it should.
Pool coating project examples: concrete pools
Example 1: A painted concrete pool with widespread peeling
A homeowner drains an older concrete pool and finds sheets of paint lifting from the walls, particularly around steps, corners and the waterline. It is tempting to scrape the loose areas, sand the edges and coat over the top. That approach usually leaves the cause of failure underneath.
Peeling can result from poor adhesion to the concrete, moisture-related issues, contamination, inadequate preparation or an incompatible repaint system. If the remaining paint is unsound, it is not a reliable base for a new coating.
The practical approach is to remove all loose and failing material, then assess the areas that remain firmly bonded. The surface needs to be clean, dry and properly prepared in line with the selected coating system. Any cracks, hollow areas or structural defects should be addressed separately before coating. Pool Paint Sydney supplies coatings and preparation guidance, but does not carry out repairs or on-site painting.
For a concrete pool being taken back to a suitably prepared surface, a two-pack epoxy pool paint system is often considered where it suits the project requirements. Primer requirements depend on the surface condition and the specific system. Do not assume primer is optional because the pool was painted previously.
Before purchasing, use the Pool Paint Calculator to calculate wall, floor, step and ledge areas. This avoids ordering only enough product for one thin coat or discovering mid-project that there is not enough material to complete the specified system.
Example 2: A concrete pool with an existing chlorinated rubber coating
Another common project is a concrete pool with an old coating that is faded and worn but still firmly attached. In this situation, compatibility is the first question. The owner may want the durability associated with epoxy, but changing coating types without confirming the existing finish can create an adhesion risk.
If the pool has an existing chlorinated rubber coating and the coating is sound, repainting with a compatible chlorinated rubber pool paint may be the lower-risk option. The pool still requires thorough cleaning, removal of chalking or loose paint, sanding or other preparation as specified, and close attention to the product instructions.
This example highlights an important trade-off. A coating upgrade is not always the right answer if it means applying a system over an unknown or incompatible base. Keeping to a compatible system can be the more practical way to get a dependable repaint result.
If you are unsure what paint is currently on the pool, do not guess from colour or age. Check available records, retain a sample where useful and seek technical guidance before selecting a coating. The cost of confirming compatibility is small compared with stripping a failed new coating.
Example 3: Bare or heavily stripped concrete
A pool that has been stripped back, or one with extensive coating loss, should be treated as a surface-preparation project first and a paint project second. Concrete can hold contaminants and may have uneven porosity. The finish will only be as good as the base beneath it.
Once the concrete is prepared to the coating system requirements, select the compatible primer where required and apply the recommended topcoat system. Two-pack epoxy pool paint is commonly chosen for these projects because it is designed as a high-performance coating system for suitable pool surfaces. However, it must be mixed, applied and recoated according to the official product information.
Do not use leftover paint from a previous project to make up a shortfall unless it is the same compatible product and within its usable condition. Mixing systems or using unsuitable old material can affect the final finish.
Pool coating project examples: fibreglass pools
Example 4: A fibreglass pool with dull, chalky paint
Fibreglass pools need a different assessment from concrete pools. A faded or chalky surface may be an old painted coating, while some pools have a gelcoat surface rather than paint. The correct preparation and primer decision depends on knowing which surface you are dealing with.
Where a fibreglass pool has a previously applied coating that remains sound, the project may involve cleaning, deglossing and preparing that existing coating before applying a compatible repaint system. Where the surface is bare fibreglass, aged gelcoat or has uncertain previous coatings, the primer and coating selection need more careful confirmation.
The key risk is treating fibreglass like concrete. Abrasive preparation that is too aggressive can damage the surface, while insufficient preparation can leave a glossy finish that does not provide a suitable key for the new coating. Follow the product data and surface-preparation advice for fibreglass rather than using a generic paint process.
For this type of project, gather clear photos of the empty, dry pool and note whether any coating is lifting, blistering or flaking. This information helps determine whether the existing surface can be prepared and recoated or whether failed material needs further removal before a compatible primer and coating system are selected.
Example 5: A fibreglass pool with localised blistering or flaking
Localised failure can be misleading. If only one wall or a few sections are lifting, it may appear reasonable to patch those spots and apply a full topcoat. But the visible failure can be the first sign that the older coating has lost adhesion more broadly.
Test the surrounding paint rather than judging the project by the worst section alone. If the coating is firmly bonded across most of the pool and the failed areas can be fully removed and feathered back, a compatible repaint may be possible. If adhesion is poor in multiple locations, more extensive removal and reassessment are likely needed.
This is also where primer errors become expensive. A primer is not a universal fix for loose paint or an unknown coating. It is used as part of a compatible system on a properly prepared substrate. Applying primer over an unstable base simply gives the new topcoat another layer to fail with.
What these projects have in common
Most failed pool repaint jobs come back to one of four issues: the existing coating was not identified, loose material was painted over, preparation was rushed, or the quantity was calculated too tightly.
A proper project plan should establish the pool surface, current coating condition, compatible topcoat, primer requirement and total area before products are ordered. Measure the length, width and average depth, then include walls, floors, steps, benches and ledges in the calculation. The Pool Paint Calculator is the sensible starting point because it helps match quantities to the actual pool rather than a rough guess.
Australian conditions also affect planning. Avoid scheduling preparation or application around wet weather, heavy dew, extreme heat or conditions outside the coating product requirements. A pool must be empty and suitable for coating work, and each stage should be completed within the product directions. Rushing because rain is forecast or because the pool needs to be filled quickly is a common way to compromise a good preparation job.
Choosing the coating system before you buy
Use chlorinated rubber pool paint when it is the compatible option for a sound existing chlorinated rubber coating. Consider a two-pack epoxy pool paint system for suitable concrete or fibreglass projects where the surface preparation, primer and existing-coating compatibility support that choice.
If there is any uncertainty, pause before buying. Confirm the existing surface and coating, review the official product information, then select the compatible primer and topcoat. Pool Paint Sydney can help customers work through coating type, quantity and primer questions before ordering.
The best pool coating project example is not the one with the fastest start. It is the one where the surface is understood, the system is compatible and enough product is on hand to complete the job correctly.