
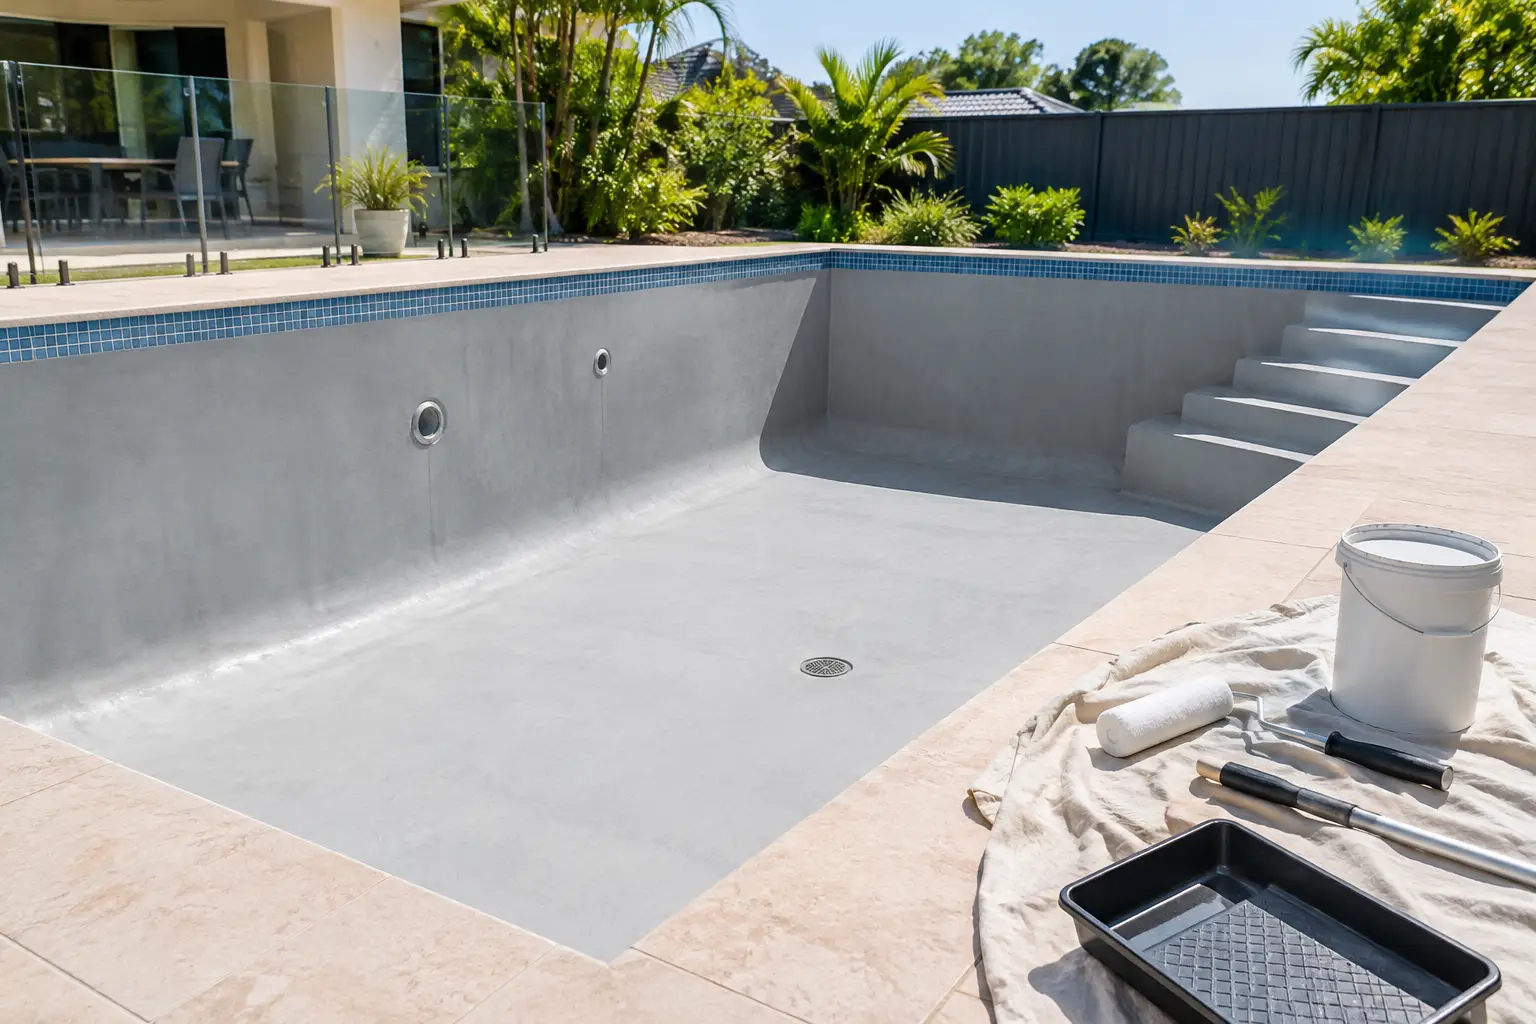
A peeling pool is rarely fixed by buying a heavier-duty tin of paint and applying it over the top. The right answer starts with the existing surface, the old coating and the preparation work. This concrete pool paint system review explains how to assess those factors before choosing epoxy or chlorinated rubber pool paint, a compatible primer and the correct quantity.
Start with the coating already on the pool
For an existing concrete pool, the old paint matters as much as the concrete underneath it. A coating system can fail when new paint is applied over an incompatible finish, loose material or a contaminated surface. The result may be peeling, blistering, soft patches or paint lifting when the pool is returned to service.
Do not assume that every painted concrete pool can be treated the same way. A pool may have an older epoxy system, chlorinated rubber paint, an unknown coating or areas where previous paint has already failed back to bare concrete. Each situation needs a different decision.
The first job is to inspect the entire shell when it is empty and dry. Look closely at the floor, steps, waterline, corners and around fittings. These are the places where poor adhesion often becomes obvious first. If paint is lifting in sheets, chalking heavily or softening, simply painting over it is unlikely to solve the cause.
If you do not know what the existing coating is, do not guess. Find out from previous records where possible, or seek product guidance before ordering. Choosing a coating based only on colour or perceived toughness is one of the most expensive mistakes in a pool repaint.
Epoxy versus chlorinated rubber pool paint
The main decision in a concrete pool paint system review is usually whether the project suits a two-pack epoxy coating or a chlorinated rubber system. Both are specialist pool coatings, but they are not interchangeable shortcuts.
Two-pack epoxy for suitable prepared surfaces
Two-pack epoxy pool paint is commonly selected where the surface and existing coating are suitable for an epoxy system. It is supplied as separate components that must be mixed correctly before use. Because it is a system rather than a one-tin paint, measuring, mixing and application timing need to follow the current product instructions closely.
Epoxy is often considered for a properly prepared concrete pool or a pool with a sound, compatible existing epoxy coating. The key word is sound. Paint that looks acceptable from the coping can still be poorly bonded when checked closely. Any weak material needs to be dealt with before the new coating goes on.
Epoxy may not be the correct choice when the coating underneath is unknown or unsuitable. Applying it over the wrong existing paint can create an adhesion problem that only shows after the work is complete. Establish compatibility first, then select the primer and topcoat system intended for that surface.
Chlorinated rubber for compatible repaint situations
Chlorinated rubber pool paint is another specialist option used in appropriate repainting situations. It can be a practical choice where the existing coating has been identified as compatible and the surface has been prepared correctly.
It is not a universal answer for every painted pool. If the old paint is failing, contaminated or incompatible, a new chlorinated rubber coat will inherit the same problem. Remove unstable paint, prepare the remaining surface properly and use a compatible system rather than relying on a topcoat to hide defects.
The best product is therefore not simply the one described as stronger or easier. It is the coating that matches the existing finish, substrate condition and preparation plan. For homeowners and tradies managing an uncertain repaint, this is the point worth confirming before placing an order.
When primer is required on a concrete pool
Primer is often where repaint projects go wrong. Some customers skip it to reduce product costs. Others prime every surface without checking whether that primer is compatible with the coating system. Neither approach is reliable.
Bare concrete, exposed patches and fully stripped areas commonly need a suitable primer as part of the selected system. The primer helps create the correct base for the pool coating, but it cannot compensate for weak concrete, moisture issues, residue or paint that has not been removed properly.
A pool with sound existing paint may have different primer requirements from one with bare concrete patches. This is why the project should be assessed as a system, not as separate tins of paint. Check the technical information for the selected BG Coatings product and use only the compatible primer where it is specified.
Avoid spot-priming by instinct. If old coating has been sanded back in numerous areas, the amount of exposed concrete and the product instructions will determine whether spot priming or a broader priming approach is required. When in doubt, get advice before starting. It is much easier to correct the plan before paint is mixed.
Preparation decides whether the new coating holds
Paint failures are commonly blamed on the product, but surface preparation is often the actual cause. A coating needs a clean, dry, stable surface. Dirt, residue, chalky paint, loose edges and poor sanding all reduce the chance of a durable result.
Begin by removing all loose or failed material. Do not leave lifting edges because they are small. Once coated, those edges can continue to release and take the new paint with them. Feather sound coating edges so there is not a sharp step between old paint and exposed concrete.
Then clean and prepare the surface according to the chosen product system. The aim is not to make the pool look merely clean. The aim is to remove contaminants and create the surface condition required for adhesion. Allow for proper drying time after cleaning and preparation. Painting onto a surface that is not ready can trap a problem underneath the coating.
Australian conditions add another layer of planning. Sydney and NSW pool owners often deal with changing weather, warm days and humidity. Do not choose an application day based on the forecast headline alone. Check the product directions for temperature, weather and recoat requirements, and plan the job so each coat can be applied within the stated conditions.
Calculate quantity before you order
Running short halfway through a coat is inconvenient, but trying to stretch paint too far is worse. Insufficient film build can affect the finished system, while excessive ordering creates unnecessary cost and leftover mixed two-pack product cannot be stored for later use.
Measure the pool carefully. You will generally need the length, width and average depth, plus details for steps, ledges, deep ends and other areas that add surface area. A simple water-volume estimate is not enough because paint coverage is based on the area being coated, not the amount of water the pool holds.
Use the Pool Paint Calculator before purchasing. Enter accurate dimensions, select the relevant coating system and include primer where the surface requires it. If the pool shape is irregular or has large steps and benches, take the time to measure them separately rather than guessing. Professional painters should also allow for the actual condition of the surface, especially where bare patches need primer.
Quantity calculations should support the specified number of coats. Do not decide to apply fewer coats just because the first coat appears to cover visually. The required system is determined by the product directions, not by how opaque the colour looks after one pass.
Common repaint decisions and the practical fix
If the old paint is peeling widely, the practical fix is not another coat over the top. Identify why it failed, remove unsound material and establish the correct coating system for the surface left behind.
If the existing paint type is unknown, pause before ordering. A small delay to identify the coating or obtain specialist guidance is cheaper than stripping a newly failed finish.
If there are bare concrete repairs or patches, include compatible primer in the plan rather than assuming the topcoat will bond equally across old paint and raw concrete. If the pool has sound existing paint with only isolated damage, assess each exposed area and follow the system instructions for preparation and priming.
If quantity is uncertain, measure first and use the calculator. Ordering by the number of tins used on a neighbour’s pool or a previous job is unreliable because pool dimensions, surface condition and coating requirements vary.
Buy a complete compatible system
A successful repaint is built from matching decisions: the existing coating, surface preparation, primer requirement, topcoat type and quantity. Treating any one of those as an afterthought is how a straightforward refresh becomes a stripping job.
Pool Paint Sydney can help customers compare the relevant epoxy and chlorinated rubber options, check primer requirements and use the Pool Paint Calculator before ordering Australia-wide. Start with a clear assessment of the pool in front of you, then buy the correct system the first time.