
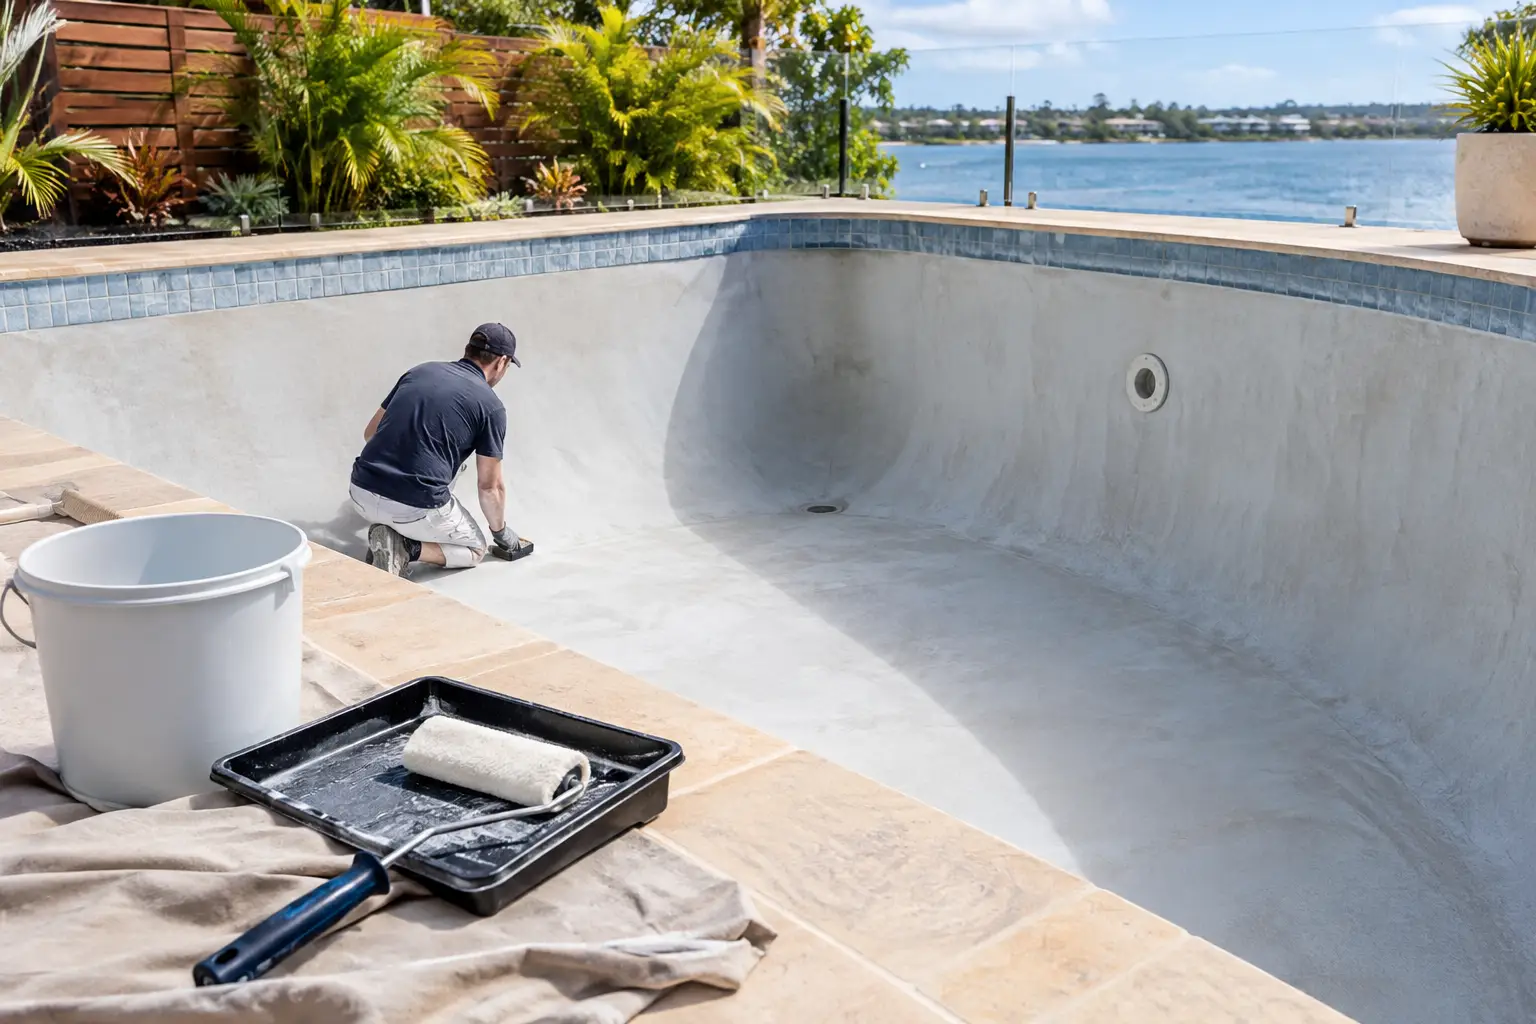
A primer is not a universal fix for an ageing concrete pool. If the surface is chalky, damp, poorly prepared or coated with an incompatible paint, applying more product can simply lock in the problem. This concrete pool primer selection guide helps you identify when primer is needed, what it needs to be compatible with, and when preparation matters more than primer.
The starting point is always the pool you have now: bare concrete, previously painted concrete, or a surface with a coating that is peeling or cannot be identified. Choose the coating system first, then select the compatible primer and preparation method. Doing it in reverse is one of the easiest ways to buy the wrong products.
Start with the existing pool surface
Concrete pools are rarely a blank canvas. Even when old paint has faded badly, there may still be sound coating in parts of the pool, loose coating elsewhere, or residue left in the pores. A new primer must suit both the substrate and the topcoat you intend to apply.
If your pool is bare, sound concrete, a compatible primer may be required to prepare and seal the surface before applying the nominated pool coating system. Bare concrete is not automatically ready for paint. It needs to be clean, sound, properly profiled and free from contaminants that can interfere with adhesion.
If the pool has an existing coating that is sound and known, the decision changes. The priority is confirming what paint is already there and whether the new coating system can go over it. A primer may be part of that system, but it is not a substitute for compatibility.
Where the old paint is peeling, blistering, soft, powdery or lifting from the concrete, remove all unsound material first. Primer applied over failed paint is only attached to failed paint. The new finish may look good initially, then lift with the old layer beneath it.
Concrete pool primer selection guide: choose by coating system
Primer and topcoat must be treated as a system. For a repaint, that means checking the technical information for the specific BG Coatings pool paint and compatible primer before ordering. Do not assume a general-purpose masonry primer, garage-floor primer or leftover paint product is suitable for an immersed pool surface.
Two-pack epoxy pool paint systems
Two-pack epoxy pool paint is commonly chosen where a durable, high-build coating system is required and the surface can be prepared to suit it. It is also a product that demands careful attention to compatibility, mixing and application conditions.
For bare concrete, use the compatible epoxy primer specified for the epoxy system where the product information calls for one. The primer is designed to bond with the prepared concrete and provide the correct base for the epoxy topcoat. Using an unrelated primer can create an adhesion risk between layers, even if the concrete itself appears sound.
For previously painted pools, do not assume epoxy can be applied over any old pool paint. If the existing coating is a different chemistry, unknown, softening, or poorly bonded, the safe path may involve more extensive removal and preparation. A small adhesion test area can help assess whether the existing coating is sound enough to retain, but it does not replace the coating manufacturer’s preparation instructions.
Chlorinated rubber pool paint systems
Chlorinated rubber pool paint is a different coating type and should be matched with its compatible preparation and primer requirements. It is often considered for suitable chlorinated rubber repaint situations, but the existing coating still needs to be identified and sound.
Do not use an epoxy primer merely because it is available, then apply chlorinated rubber pool paint over it unless the official system information specifically permits that combination. Paint chemistry matters. The layers need to work together, not just look compatible in the tin.
If you are changing from chlorinated rubber to an epoxy system, or the old coating cannot be identified, stop before ordering. This is the point where product guidance is most valuable. The wrong changeover system can lead to lifting, wrinkling, poor adhesion or an expensive strip-back later.
When primer will not solve the problem
Primer has a specific job. It is not a repair compound, moisture barrier for every situation, or a way to make loose concrete sound. Before selecting it, inspect the surface closely in dry conditions.
Pay particular attention to areas around steps, corners, the waterline and the floor-to-wall junctions. These are common places for old coatings to lose bond, for surface contamination to remain, or for concrete defects to become obvious once the pool is empty.
Address these issues before coating:
- Peeling, flaking or blistered paint must be removed back to a sound edge or sound substrate.
- Powdery or friable concrete needs to be assessed and properly prepared before any coating is applied.
- Surface cracks, hollow areas and structural movement are not paint problems. Coating over them without suitable repair can result in a repeat failure.
- Dirt, oils, sunscreen residue, mineral deposits and other contamination must be removed using the preparation process specified for the coating system.
- A damp surface can affect adhesion. Do not rush a coating job after rain, washing or wet weather.
Sydney and NSW conditions can make timing difficult. Summer heat can shorten workable application windows, while rain, cool weather and humidity can delay drying and recoating. Plan the job around the product data, the forecast and the actual condition of the concrete, not a fixed weekend deadline.
How to assess an unknown old coating
Unknown paint is one of the biggest risks in pool repainting. Colour is not enough to identify it, and a hard-looking coating is not necessarily compatible with the paint you plan to use.
Start by checking any previous product records, leftover tins or invoices. If there is no record, inspect the coating for softness, cracking, chalking and areas where it has detached. Clean a small test area and carry out the assessment recommended for your selected system. If the result is uncertain, treat it as uncertain rather than making a costly assumption.
A common mistake is choosing primer because the old paint is weathered. Weathering does not tell you which primer is compatible. It tells you to find out whether the old coating is still sound, whether it needs removal, and which topcoat system can be used over what remains.
Prepare concrete properly before priming
Good preparation is not an optional extra. It is the foundation of the coating system. The exact method depends on whether the pool is bare concrete, previously coated, or being taken back to a sound substrate, so follow the relevant technical data for your chosen product.
In practical terms, the surface needs to be clean, dry, sound and properly prepared for adhesion. Remove loose material thoroughly, clean away contaminants, and create the surface condition required by the coating system. Vacuum dust and debris from the pool before priming. Dust left on the walls or floor can become a weak layer between concrete and coating.
Do not prime isolated patches and assume the rest of the pool is ready. If the pool has widespread chalking, poor adhesion or inconsistent old coatings, assess the entire surface. A patchy preparation job often creates a patchy coating result.
Calculate primer and paint before you order
Running short halfway through an application can force poor decisions, such as stretching material too far or applying less than the specified system requires. Ordering far too much is not helpful either, particularly with two-pack products that need to be mixed and used in line with their instructions.
Use the Pool Paint Calculator to measure the pool accurately and estimate the required paint and primer quantity for the selected system. Measure the length, width and average depth, then include walls, steps, ledges and other coated areas where applicable. Do not calculate from the water volume alone, because paint coverage is based on surface area.
Coverage can vary with concrete texture, porosity, application method and the condition of the existing surface. Treat calculator results as a planning tool, then check the stated coverage and coat requirements on the relevant product information. If the concrete is rough or newly exposed after coating removal, allow for the fact that it may use more material than a smooth, previously painted surface.
Avoid the expensive primer mistakes
The most costly mistakes are usually simple: applying primer over loose paint, selecting it before identifying the topcoat, or assuming every concrete pool needs the same system. Another frequent issue is using too little material in an attempt to make it go further. Pool coatings need to be applied according to their stated system requirements, not spread until the tin is empty.
Also avoid mixing brands or coating types without confirmation that they are compatible. A primer, topcoat and thinner may each look like pool products, but that does not mean they belong in the same system.
Before you buy, confirm four things: the current surface condition, the existing coating type if present, the pool paint system you are using, and the primer nominated for that system. If any one of those is unclear, check the relevant product page and technical guidance before placing the order.
The right primer is the one that suits a properly prepared concrete surface and the exact pool coating going over it. Take the extra time to identify the existing paint, use the Pool Paint Calculator for quantities, and choose the compatible BG Coatings system. That decision is made before the first coat goes on, and it is where a durable repaint begins.