
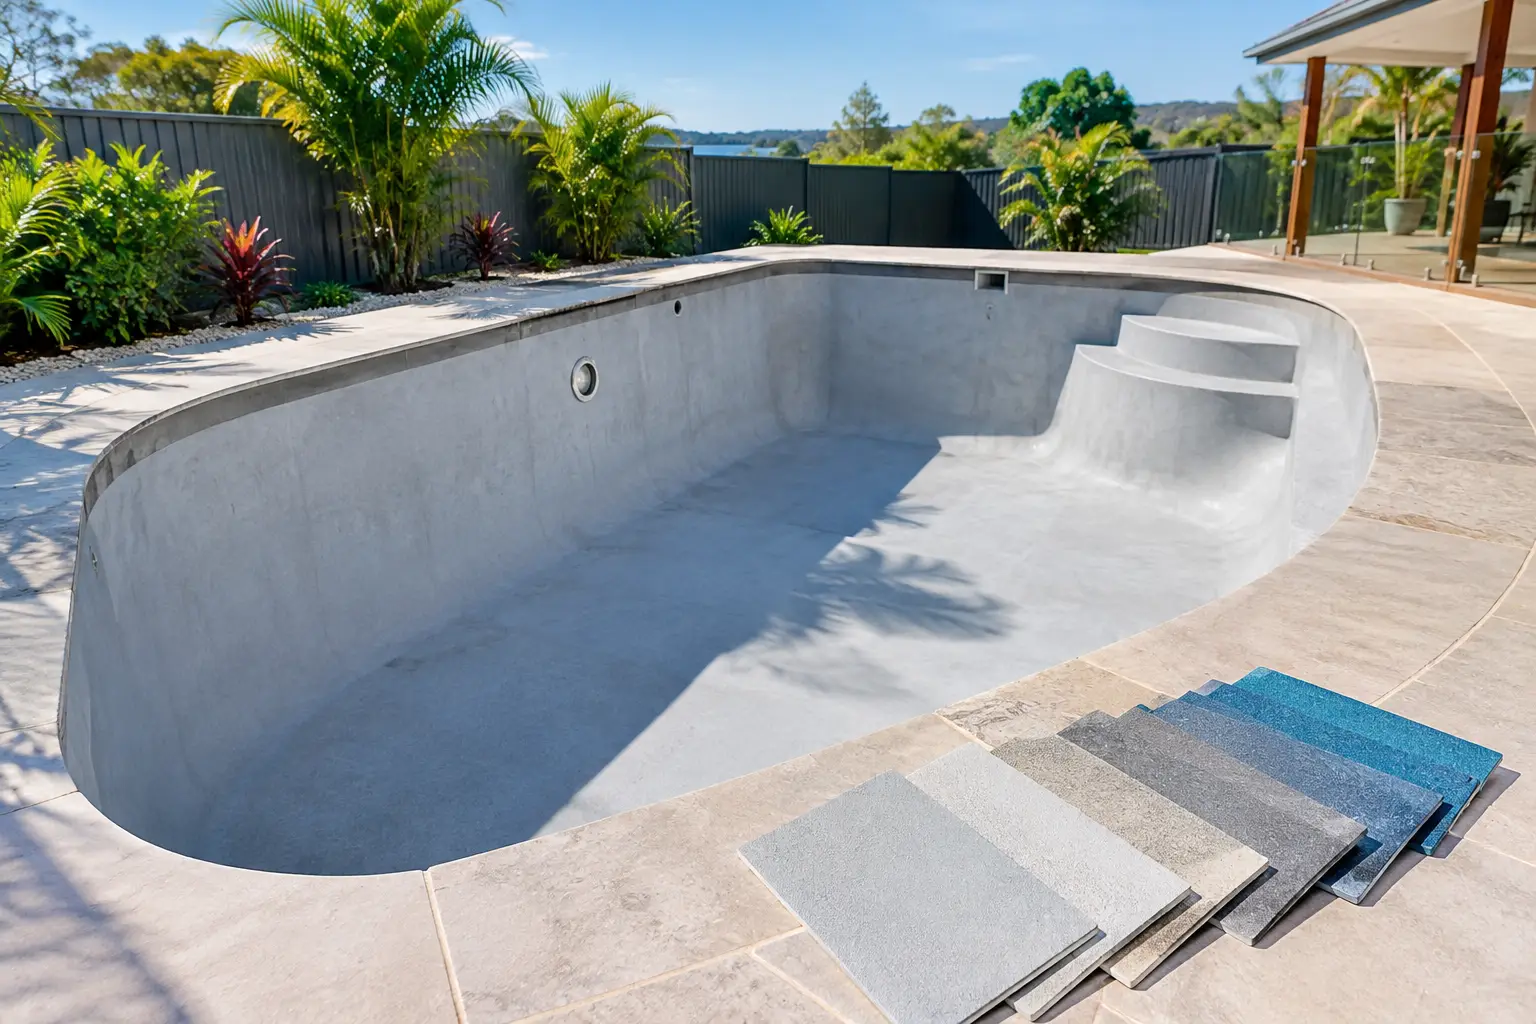
A pool can look ready for fresh paint and still be the wrong surface for the coating you have chosen. Most early peeling, blistering and patchy adhesion problems come back to one issue: the new paint was not compatible with the old coating, substrate or primer. These pool coating compatibility examples show what a suitable system looks like, where the risks sit, and when removal or further checking is the safer option.
The first job is not choosing a colour. It is identifying what is already on the pool and whether it is sound enough to repaint. That decision determines whether you can use epoxy, chlorinated rubber, a compatible primer, or need to remove failing material before anything new goes on.
Pool coating compatibility examples for common jobs
1. Sound epoxy over sound epoxy
A previously epoxy-coated concrete pool with a firm, well-adhered finish is usually the most straightforward repainting scenario. If the existing epoxy does not soften, lift or flake when prepared as directed, a compatible two-pack epoxy system is generally the logical choice.
The key word is sound. The coating must be thoroughly cleaned, dulled to provide a mechanical key, and checked for weak areas around steps, corners, waterline marks and previous patch repairs. Glossy epoxy that has only been washed, rather than abraded, may look clean but can still reject the next coat.
This is a good option when you want to stay with a high-performance epoxy system and the existing coating is confirmed as epoxy. Check the relevant BG Coatings product instructions for preparation, recoat requirements and any primer recommendation. Do not assume every old two-pack finish is identical simply because it looks like epoxy.
2. Sound chlorinated rubber over sound chlorinated rubber
If the pool has an existing chlorinated rubber coating that is firmly bonded, repainting with a compatible chlorinated rubber pool paint can be the sensible route. This keeps the coating type consistent and avoids introducing an unnecessary compatibility risk.
Preparation still matters. Chalky residue, surface contaminants, loose paint and gloss all need attention before recoating. A fresh coat cannot stabilise an old coating that is breaking down underneath it. If you can scrape sections away easily, see widespread cracking, or find soft spots, treat the old finish as failed rather than paint over it.
For a pool owner who has positively identified chlorinated rubber and wants a like-for-like repaint, chlorinated rubber paint is usually easier to assess than trying to change systems. Confirm the existing coating and follow the product data before ordering.
3. Bare or fully stripped concrete with the correct primer system
Concrete is not automatically ready for topcoat just because it is bare. New concrete, old porous concrete, repaired sections and fully stripped pools can all have different absorption and surface conditions. A suitable compatible primer system helps create the right base for the specified pool coating.
For example, a concrete pool stripped back to a clean, stable substrate may be prepared and primed as required for a two-pack epoxy coating system. The exact approach depends on the surface condition and the coating manufacturer’s instructions. Dense or contaminated concrete, laitance, dust and moisture-related issues can all interfere with adhesion.
Do not use a general-purpose masonry primer as a substitute for a pool coating primer. The primer, topcoat and preparation method need to work as one system. If the pool has bare concrete alongside retained old paint, the job may need different preparation in different areas rather than one blanket approach.
4. Fibreglass with a known, stable compatible coating
Fibreglass pools need more caution than many DIY painters expect. The surface may be a factory gelcoat, a previous coating, or a mixture of both after local repairs and sanding. A paint system that suits concrete is not automatically suitable for fibreglass.
Where a fibreglass pool has a known existing coating that is stable and compatible with the new system, preparation and recoating may be possible. Where the coating type is unknown, or there are signs of lifting, crazing, softening or widespread failure, stop before ordering paint. You need to establish whether the old material can remain or whether it must be removed.
Use the product information for the selected coating to confirm fibreglass suitability and primer requirements. Guessing based on the pool shell alone is how expensive coating failures start.
Combinations that need extra care
The risky jobs are usually not the obvious ones. They are the pools with a few layers of unknown paint, an old repair coating, or a surface that has been partly stripped over several repainting cycles.
Epoxy over chlorinated rubber
Do not assume that a two-pack epoxy can go over an old chlorinated rubber finish. These systems behave differently, and an epoxy topcoat may not bond reliably to chlorinated rubber without the specific preparation and system approval required by the manufacturer. If the pool is chlorinated rubber, the lower-risk decision is often to remain with a compatible chlorinated rubber system or remove the old coating before changing systems.
Chlorinated rubber over epoxy
The reverse change also needs caution. A chlorinated rubber coating may not be the right answer over an existing epoxy surface. Even if a small test area appears acceptable, the whole pool has to perform through temperature changes, water exposure and normal use. Compatibility needs to be confirmed before committing to full application.
Unknown paint over anything
“Pool paint” is not a coating type. It tells you where the product was used, not what chemistry is on the surface. An unknown coating should not be treated as epoxy or chlorinated rubber because of its colour, age or appearance.
If records are unavailable, inspect the pool carefully and seek technical guidance before selecting a system. Take note of whether the existing coating is hard or soft, glossy or chalky, thick or thin, and whether it dissolves or smears during any approved identification check. A small compatibility test can be useful, but it does not replace correct identification and preparation across the full surface.
How to assess the existing pool coating
Start with a close inspection while the pool is empty, clean and dry. Look for peeling edges, blisters, hollow-sounding sections, cracks, rust staining around fittings, chalking and areas where previous paint layers are visible. These clues tell you whether the issue is local or whether the whole coating is losing adhesion.
Then determine the existing coating type as accurately as possible. Old invoices, product tins, builder records and previous owner information can help. If you cannot verify it, do not make a coating choice based on assumptions. Contact the coating supplier with clear photos and details of the surface, including whether the pool is concrete or fibreglass and what preparation has already been done.
A coating can be compatible on paper but still fail if the substrate is unsound. For example, epoxy over a firmly bonded epoxy coating may be appropriate, but epoxy over epoxy that is peeling from concrete only traps the original failure beneath the new work.
Primer compatibility is not optional detail
Primer is often misunderstood as an extra coat that can be skipped to save time. In reality, its role depends on the surface and the coating system. On bare or highly porous concrete, the correct primer may be essential. On a sound, properly prepared existing coating, a primer may not be required or may be used only in bare repair areas, depending on the system instructions.
Using the wrong primer can be as damaging as using the wrong topcoat. A primer designed for a different coating chemistry, or a general building primer, can create a weak layer between the pool surface and the finish. Buy the primer specified for the selected BG Coatings pool paint system and follow its preparation and application directions.
This is particularly relevant on mixed surfaces. A pool with exposed concrete repairs, old epoxy on the walls and bare areas around steps may need careful spot priming and a compatible topcoat plan. Treating every section the same can leave one part of the pool vulnerable.
Choose the coating system before calculating quantity
Once compatibility is clear, calculate the area and product quantities for the complete system, not just the topcoat. Include walls, floor, steps, ledges and any areas needing primer. The Pool Paint Calculator is the practical place to start, because ordering too little paint can lead to thin coverage or an interrupted job, while ordering for the wrong system wastes money from the outset.
Choose two-pack epoxy when it suits the confirmed existing coating or correctly prepared substrate and the manufacturer’s system requirements. Choose chlorinated rubber when it is the compatible like-for-like option for a sound chlorinated rubber finish. If you are changing coating type, dealing with unknown paint, or working on fibreglass, confirm the system before buying.
For Australian pool owners, preparation timing also matters. Plan the work around dry, suitable weather and allow the coating system to be applied and cured exactly as directed. Rushing because rain is forecast or applying outside the stated conditions can undermine an otherwise compatible paint choice.
The practical rule is simple: match the new coating to a confirmed, stable surface, use the correct compatible primer where specified, and remove failed paint rather than covering it. If the old coating is unclear, get technical advice before placing the order. That short pause is usually far cheaper than repainting a pool twice.