
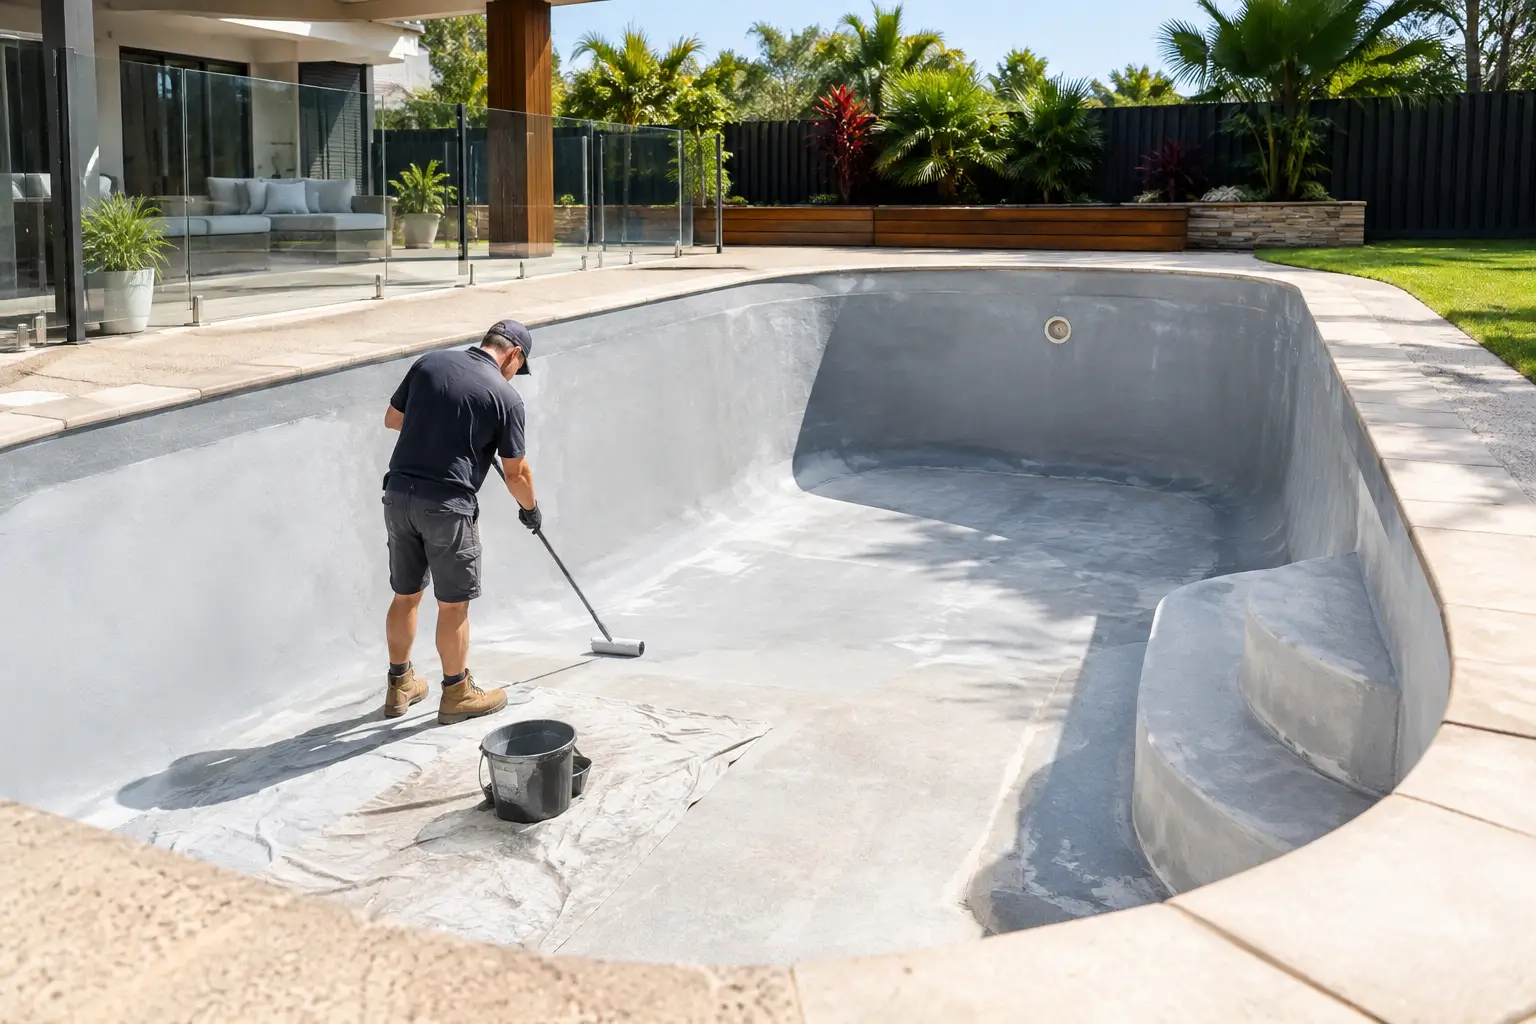
A pool can look ready for paint once it is empty, dry and faded. That is often where expensive mistakes begin. These pool primer application examples show when primer is required, when it is not, and why the existing coating and surface preparation must be checked before you order a coating system.
Primer is not a universal extra coat to put under every pool paint. It has a specific job: helping a compatible coating system bond to the prepared surface. Applying the wrong primer, or applying primer over loose paint, contamination or an incompatible finish, does not solve an adhesion problem. It can simply add another layer that may fail.
Start with the surface, not the primer
Before choosing a primer, identify what is actually being painted. Is the pool bare concrete, sound fibreglass, or an existing painted surface? If it is painted, is the old coating epoxy, chlorinated rubber, or unknown?
That answer determines the safe path forward. A primer suitable for bare masonry may not be the right product over an existing coating. Likewise, a coating that performs well over a correctly prepared epoxy surface may not be suitable over chlorinated rubber. If the existing paint is unknown, do not guess based on colour, age or appearance alone.
Look closely for peeling edges, blisters, chalky residue, cracking and soft or rubbery areas. These are not minor cosmetic issues. They can indicate that the old coating is failing, contaminated, poorly prepared or incompatible with an earlier paint system. New primer and paint are only as reliable as the layer beneath them.
A practical first step is to use the Pool Paint Calculator to estimate the area and quantities for your pool. Then confirm the existing surface and coating system before buying primer or topcoat. Accurate area calculations help prevent running short and make it easier to apply the coating system at the intended rate.
Pool primer application examples for common jobs
The following examples are not substitutes for the relevant product data sheet. They show the decision-making process that avoids the most common repainting errors.
Example 1: Bare concrete after old paint removal
A concrete pool has had its failed coating removed, leaving mostly bare substrate. The concrete is sound, but there are dusty areas, traces of residue and a few sections where paint remains firmly bonded.
The correct approach is not to prime immediately. First, remove all loose material and contamination, then prepare the concrete as required for the selected coating system. The surface must be clean, dry and properly profiled where the product instructions call for it. Dust left in pores can prevent the primer from bonding to the concrete, even if the pool looks clean from a few metres away.
Once preparation is complete, apply the compatible primer evenly to the bare concrete in accordance with the technical instructions. Pay particular attention to porous sections, steps, coves and areas around fittings, where uneven absorption can occur. Do not try to make one heavy primer coat do the work of a repair product or multiple paint coats.
After the primer has reached the required stage for recoating, apply the nominated pool coating system. For a two-pack epoxy system, use the compatible epoxy primer and follow the mixing, induction and recoat guidance supplied for that product. The benefit of this approach is a consistent system built from the concrete upward, rather than a collection of products chosen individually.
Example 2: Concrete with sound existing epoxy paint
A pool may have an existing epoxy coating that is dull, scratched or faded but still firmly adhered. A simple adhesion check is useful: inspect for lifting around cracks, hollow-sounding patches, peeling edges and spots that can be scraped away easily. If the coating is sound, full removal may not be necessary.
In this situation, the job is usually about cleaning and abrading the existing finish so the next compatible coat has a sound mechanical key. Primer may not be required across the entire pool if the selected coating is designed to go over properly prepared sound epoxy. However, exposed bare concrete created during sanding or paint removal may need compatible spot priming.
This is where customers often over-prime. Coating every square metre with a primer intended for bare masonry can be unnecessary or unsuitable over sound epoxy. Treat bare patches correctly, prepare the existing epoxy thoroughly, and use the recommended topcoat system over the prepared surface.
The trade-off is time. Thorough cleaning and sanding can feel slower than applying a blanket primer coat, but it addresses the actual issue: creating a clean, stable surface for the next coating.
Example 3: Previously painted pool with unknown coating
Unknown paint is one of the highest-risk repainting scenarios. It may be epoxy, chlorinated rubber, an older solvent-based coating or a mixture created by previous repairs. Applying a new system without identifying it can lead to softening, lifting, wrinkling or later peeling.
Do not use primer as a shortcut around uncertainty. First, assess the old finish and carry out suitable compatibility testing in an inconspicuous area using the proposed system, following the product guidance. If compatibility cannot be confirmed, the safer option may be to remove the existing coating and begin with a prepared substrate and compatible primer system.
For a pool owner hoping to change from an unknown coating to a two-pack epoxy finish, this can mean more preparation than expected. It is still preferable to ordering paint based on the assumption that all pool coatings behave the same way. They do not.
Example 4: Fibreglass pool with a weathered finish
Fibreglass needs a different mindset from bare concrete. The surface is non-porous and may have a gelcoat or previous coating that appears smooth but has lost gloss. Adhesion depends on proper cleaning, removal of surface contamination and adequate abrasion, not on flooding the surface with a masonry primer.
If a fibreglass pool has a sound existing coating, identify that coating and select a compatible repaint system. If areas have been repaired or stripped back, follow the recommended preparation and primer requirements for the selected coating. A primer must be suitable for fibreglass and for the topcoat being used.
Avoid treating fibreglass like concrete. A product chosen for porous masonry may not provide the intended bond on a smooth fibreglass surface. The correct coating system page and product information should guide that choice.
How to apply primer without creating another failure point
Once you have confirmed that primer is required, application discipline matters. Mix and apply only as directed for the specific product. Two-pack materials require accurate component ratios and careful mixing. Do not estimate ratios by eye, and do not combine different brands or coating systems unless the manufacturer specifically permits it.
Use suitable application equipment and maintain an even coat. Missed sections, heavy ridges and pooled primer can create problems for the topcoat. Work methodically from one end of the pool to the other, including steps and difficult transition areas. Keep the job organised so you can maintain the required recoat window.
Australian weather can complicate timing. Heat can shorten working time, while cool or damp conditions can delay drying and curing. Avoid applying coating products when rain, condensation, excessive heat or unsuitable surface conditions could affect the result. Check the product instructions before starting rather than relying on the day’s air temperature alone.
Do not prime over moisture, dust, algae residue, oils, loose paint or unprepared glossy surfaces. Primer is an adhesion layer, not a cleaner, sealer for failed paint, or a repair solution for structural cracks. Structural defects and substrate issues need appropriate assessment before coating begins.
When primer is not the answer
The most common reason a newly painted pool peels is not that the customer skipped an extra coat. It is that the surface beneath the new coating was unstable, dirty, damp, inadequately abraded or incompatible.
If old paint comes away easily, remove it rather than burying it under primer. If the existing coating is sound and compatible, preparation and the correct topcoat may be the better route. If bare concrete is exposed, use the primer specified for that coating system. If the surface is fibreglass, choose a system designed for fibreglass rather than assuming a concrete-pool primer will work.
For professional painters and DIY customers alike, this distinction saves product and rework. Buying the correct system the first time starts with an honest assessment of the pool, not a default decision to prime everything.
Order the system, not just the paint
When calculating what to buy, allow for the complete scope of the job: primer where required, sufficient topcoat for the recommended number of coats, and extra attention to exposed bare patches. The Pool Paint Calculator is the sensible starting point for quantity planning, but surface type and existing coating still determine which products belong in the order.
Pool Paint Sydney can help customers work through the coating choice using the pool surface, the condition of the current paint and the intended repaint system. Have your measurements, photos of problem areas and details of any known previous coating ready before enquiring. That makes it far easier to confirm whether you need epoxy, chlorinated rubber, compatible primer, or further preparation before ordering.
A durable repaint starts when the primer decision matches the surface in front of you. Take the time to identify that surface, prepare it properly and choose one compatible system before the first coat goes on.