
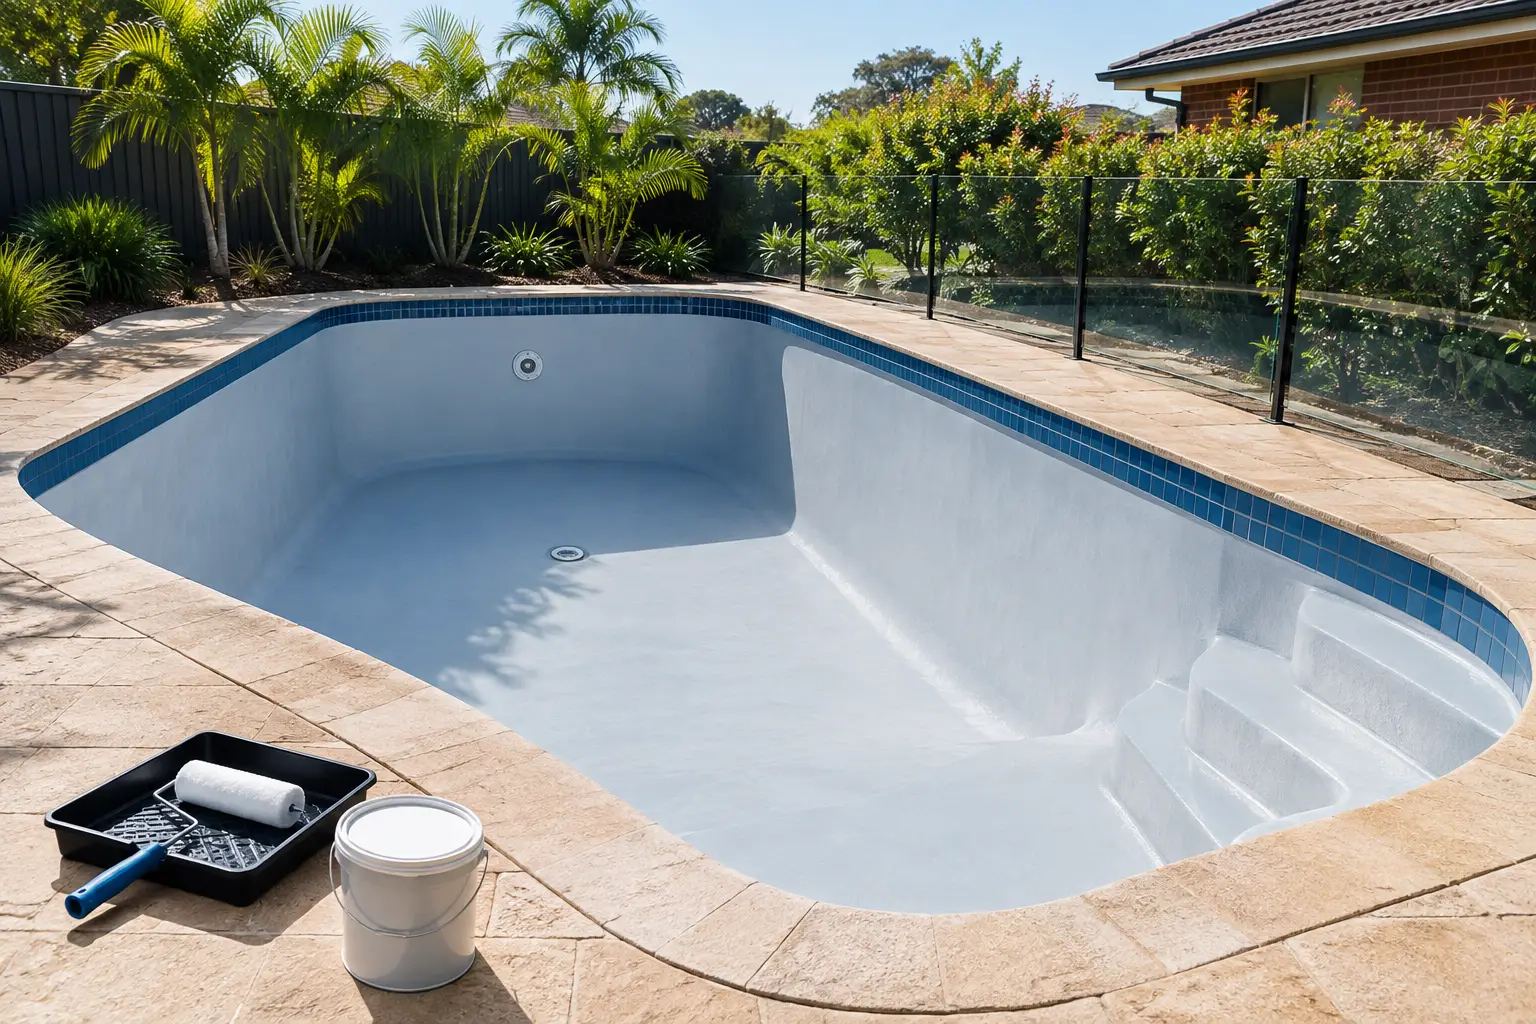
Peeling paint usually starts long before the first coat goes on. It starts when the old coating is guessed at, surface preparation is rushed or a primer is treated as optional. This DIY pool repaint checklist guide helps you make the right decisions before ordering paint, so you can choose a compatible system and avoid repeating a failed job.
DIY pool repaint checklist guide: start with the existing coating
The first question is not which colour you want. It is what is already on the pool.
A new coating must be compatible with the existing paint and the surface beneath it. Applying a different system over an unknown or unstable coating can lead to lifting, wrinkling, blistering or widespread peeling. The paint may look acceptable at first, then fail after the pool is returned to service.
Inspect the entire empty, dry pool for peeling edges, soft paint, chalky residue, cracks in the coating and areas where previous paint has already been touched up. Pay close attention to steps, waterline areas, corners and patches exposed by old failures. If the existing coating is coming away from the surface, painting over it is not a fix. Remove all loose and unsound material first.
Where the coating type is unknown, do not assume it is epoxy because it feels hard, or chlorinated rubber because it looks older. Check any previous product records if available. If there are no records, take the time to identify the coating before selecting a repaint system. This is one of the most important points to confirm with technical guidance before you buy.
Confirm your pool surface and repair scope
Concrete and fibreglass pools need different preparation approaches, and both can have previous coatings that affect product choice. A bare concrete pool is not the same as concrete with an existing sound coating. Likewise, a fibreglass pool may have gelcoat, an older repaint system or areas where previous paint has failed.
Painting will not correct structural movement, major cracking, water loss or deteriorated substrate. Those issues need to be assessed and repaired before coating work begins. Pool paint is a finish system, not a structural repair product.
Once the substrate is sound, the practical task is to create a clean, stable surface that the selected coating system is designed to bond to. That means removing failed paint rather than feathering over loose edges and hoping the next coat will hold them down.
Choose the coating system before buying any materials
The right pool paint is dictated by surface type, existing coating and the preparation you can complete properly. It is not simply a choice between a premium option and a cheaper option.
Two-pack epoxy pool paint is commonly selected where an epoxy-compatible system is required and thorough preparation can be achieved. It is a two-component coating, so correct measuring, mixing and working within the specified application time matter. Do not mix more than you can apply within the product instructions.
Chlorinated rubber pool paint is generally used for suitable existing chlorinated rubber systems or where the product guidance confirms it is appropriate. It is not a universal topcoat for every old pool surface. Applying it over an incompatible finish can create a coating failure that is far more time-consuming to remove later.
If you are changing coating types, stopping at a patchy old surface or repainting a fibreglass pool, check the relevant product information and primer requirements first. Pool Paint Sydney supplies BG Coatings pool systems and compatible primers, but the correct selection still depends on your pool’s condition and existing finish.
Do you need primer?
Primer is not an optional extra to add only when the surface looks rough. It has a specific role in the coating system. Bare or repaired areas, exposed concrete and certain surface transitions may require a compatible primer so the finish coat has the correct base.
On the other hand, applying primer where it is not specified can introduce another compatibility issue. Use the primer recommended for your chosen coating system and surface condition. Do not mix products from unrelated systems because they happen to be labelled as pool primer or pool paint.
Prepare the pool properly
Preparation takes longer than painting, and that is normal. The finish coat cannot compensate for dust, contamination, weak old paint or a poorly profiled surface.
Start by removing all loose, flaking and unsound coating. Then prepare sound painted areas as directed for the selected system, including sanding or mechanical abrasion where required. The goal is a clean, stable surface with a consistent profile, not a shiny surface with a few rough patches.
After surface work, remove dust thoroughly. Pay attention to corners, steps, ledges and the floor-to-wall junction, where sanding dust and debris often remain. The pool must also be completely dry before paint is applied. Moisture trapped in concrete or beneath an existing coating can contribute to blistering and adhesion problems.
Before you begin, check these essentials:
- The pool is empty, dry and safe to access for preparation and painting.
- Loose paint, powdery residue and failed patches have been fully removed.
- Concrete, fibreglass and any repaired areas have been prepared as required by the coating system.
- The selected primer, if required, is compatible with both the substrate and topcoat.
- You have read the product directions for mixing, application, recoat timing and return-to-service requirements.
Do not paint in unsuitable weather. Sydney and NSW conditions can shift quickly, particularly when humidity, rain or cool overnight temperatures are involved. Check the product data before starting and plan enough dry weather for preparation, primer and each paint coat. Painting late in the day just to finish a section can create avoidable problems if conditions move outside the product requirements.
Measure the pool and calculate quantity accurately
Running short encourages thin coats, skipped areas and mismatched batches. Ordering too much can be costly, especially with two-pack products that must be mixed correctly. Measure before purchasing rather than estimating from the pool’s water capacity or a rough backyard measurement.
Measure the length, width and average depth, then include steps, ledges, deep-end walls and other areas that will be coated. A rectangular pool calculation is a starting point, not always the final number. Freeform pools, internal steps and prominent coves can add meaningful surface area.
Use the Pool Paint Calculator to estimate the paint and primer quantity for your dimensions and selected system. Then compare the result with the coverage rates and coat requirements stated for the specific product. Coverage can change with surface texture, porosity, preparation method and application conditions, so a very rough concrete surface may use more material than a smooth previously painted surface.
Buy enough product to apply the specified coats at the required film build. Stretching paint to make it cover a larger area is a false saving. Insufficient coating thickness can reduce the performance of the system and make uneven coverage more visible.
Set up for controlled application
Have the right rollers, brushes, mixing equipment, measuring containers and personal protective equipment ready before opening the paint. Check the product directions for suitable application tools and mixing method. For two-pack epoxy, mix the components at the specified ratio and allow any required induction time before use.
Work methodically from the deep end toward the exit point so you do not paint yourself into a corner. Cut in around fittings, steps and tight areas carefully, then maintain a wet edge on larger sections. Apply even coats rather than trying to make one heavy coat do all the work.
Keep separate track of mixed batches, coat times and completed sections. This is especially useful on larger pools, where it is easy to lose track of which walls have received a full coat. If the product specifies a recoat window, follow it. Waiting too long or recoating too early can affect adhesion between coats.
Final checks before refilling
When the final coat is complete, inspect the pool in good light. Look for missed areas, thin spots, debris, roller marks caused by poor application and edges where old paint may still be lifting. Address issues only in line with the product instructions.
Most importantly, allow the full curing period specified for the exact coating system before the pool is filled. A coating that feels dry is not necessarily ready for immersion. Refilling too early can damage a finish that was otherwise applied correctly.
A successful repaint comes down to disciplined choices: identify the old coating, prepare until the surface is sound, use the compatible primer where required and calculate enough paint for proper coats. Before ordering, use the Pool Paint Calculator and match your pool surface and existing finish to the correct epoxy or chlorinated rubber system.