
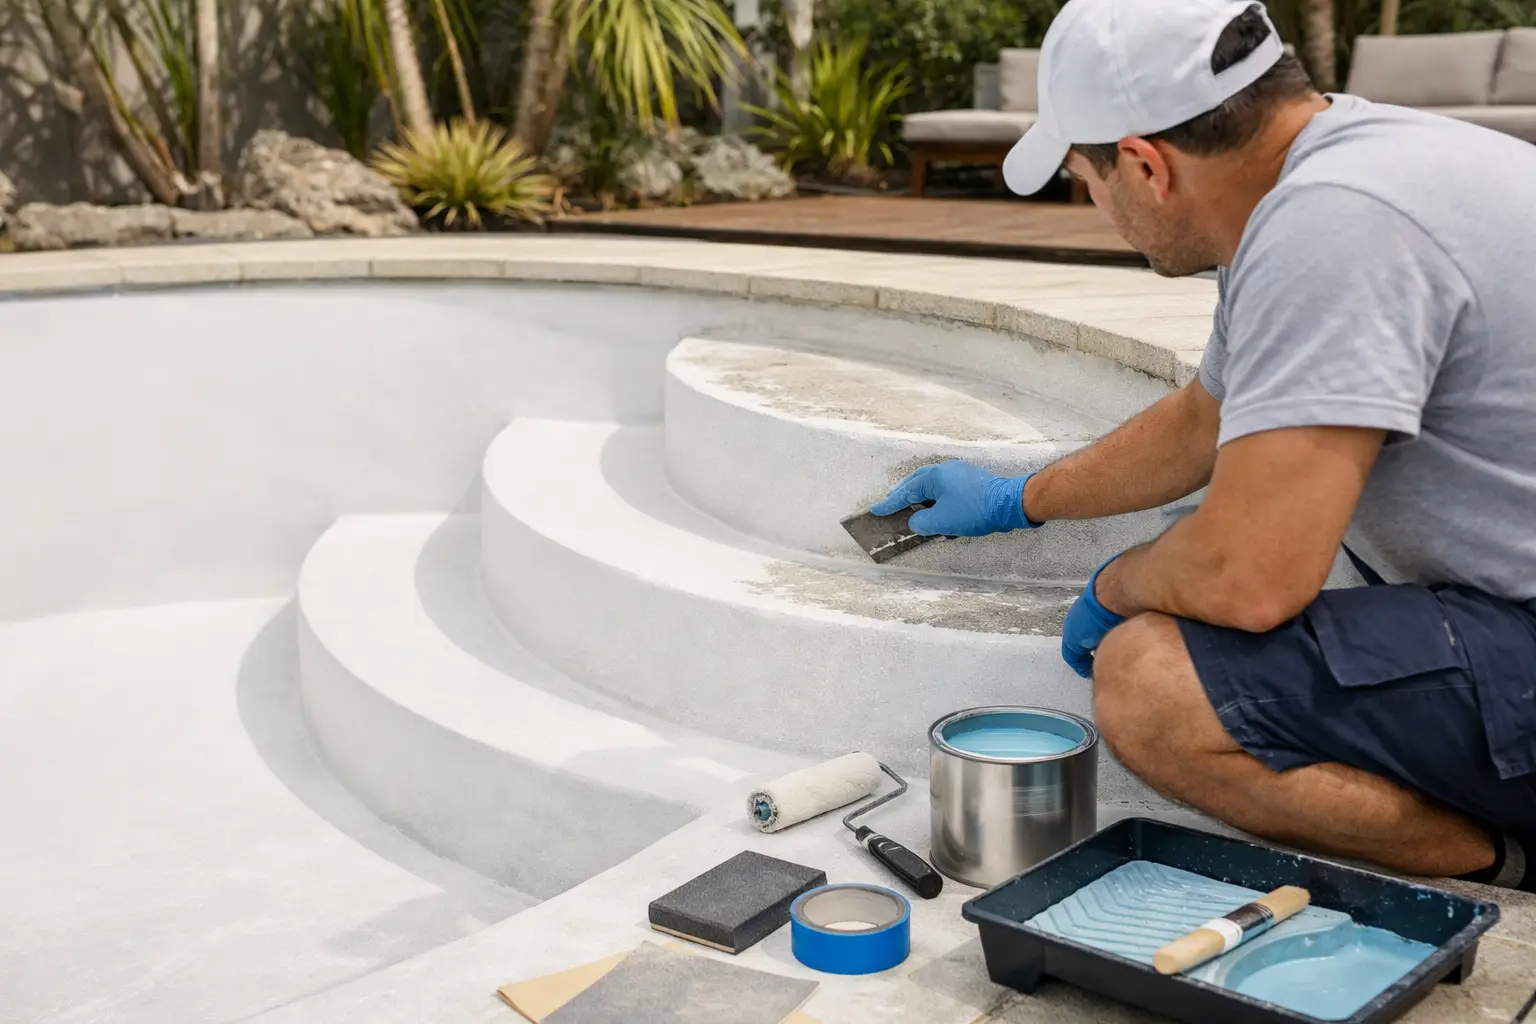
Pool steps are usually the first area to show coating failure. They receive constant foot traffic, are regularly exposed to wet-and-dry conditions, and often hold poorly prepared paint around edges and corners. Knowing how to repaint pool steps properly is less about applying a fresh coat and more about identifying the existing surface, removing anything unsound and choosing a compatible coating system.
Painting straight over peeling step paint may make the pool look better briefly, but the failed layer underneath is still the weak point. The new coating can lift with it. Start with the substrate and the existing paint, then work forward from there.
Check why the pool-step paint has failed
Before selecting paint, inspect every tread, riser, corner and the area where the steps meet the pool wall. Look for peeling edges, blistering, chalky residue, bare patches, cracks in the coating and areas that feel soft or loose. Pay particular attention to the front edge of each step, where shoes, feet and pool equipment commonly cause wear.
A coating usually fails for one of three reasons: poor surface preparation, moisture or contamination beneath the paint, or an incompatible new coating applied over an old one. The solution depends on which problem you have.
If paint is firmly attached, with only local damage from traffic, it may be possible to prepare and coat the affected steps as part of a full pool repaint. If the coating releases easily, flakes across multiple areas or has widespread blistering, treat it as a broader coating failure. Loose paint must be removed until you reach a stable, sound surface. Do not use fresh paint to hold down old paint that has already lost adhesion.
Cracks in the concrete, damaged fibreglass or structural movement are separate repair issues. Paint will not repair those problems. Make sure the surface is sound before coating.
Identify the pool surface and existing coating
The correct approach changes depending on whether the steps are concrete, fibreglass or another substrate, and whether they were previously coated with epoxy, chlorinated rubber or an unknown product.
Concrete pool steps are commonly painted with a compatible two-pack epoxy pool coating or chlorinated rubber pool paint, depending on the existing system and condition of the pool. Epoxy is a two-pack coating and requires accurate mixing and careful preparation. Chlorinated rubber is often chosen where it is compatible with the existing coating and suits the project requirements.
Fibreglass steps need equally careful product selection. They require a coating system suitable for fibreglass and the existing surface condition. A product that suits prepared concrete is not automatically the right option for fibreglass.
The biggest avoidable mistake is changing coating types without confirming compatibility. For example, applying an epoxy coating over an incompatible old paint can lead to lifting, wrinkling or premature failure. If you know what was previously used, match the new system to the old coating where product guidance allows. If you do not know, do not guess based on colour, age or appearance alone.
Check any old paint records, spare tins or contractor documentation first. Where the existing coating cannot be identified, contact Pool Paint Sydney with clear photos and details of the pool surface, previous paint condition and any preparation already completed. This is the point to confirm the recommended coating and primer system before ordering.
How to repaint pool steps: preparation comes first
The pool must be empty and dry before work begins. Choose a suitable dry weather window, particularly in Sydney and coastal NSW where humidity, overnight moisture and sudden rain can interrupt preparation or coating. Follow the current product directions for weather limits, recoat windows and curing requirements rather than relying on a general rule.
Start by scraping or mechanically removing all loose, flaking and poorly bonded coating. Feather the edges of firmly adhered paint so there is no hard ridge between bare substrate and old coating. On steps, take extra care around corners and nosings. These areas need a smooth transition or the edge may show through the new finish.
Once unsound paint is removed, thoroughly clean the surface to remove dirt, body oils, residue and sanding dust. Rinse as required by the preparation process, then allow the pool shell and steps to dry completely. Paint applied over a damp substrate can blister or lose adhesion, even if it initially looks acceptable.
For bare or repaired concrete, follow the relevant coating system’s preparation instructions. Concrete may need a specified profiling or priming process so the coating has a suitable surface to bond to. For fibreglass, the surface generally needs cleaning and abrasion to create the required key, followed by the compatible primer where specified. Do not use a primer simply because it seems like extra insurance. An unsuitable primer can be as problematic as the wrong topcoat.
Before moving on, run your hand over the dry prepared steps. The surface should be clean, firm and free of dust. If paint can still be lifted at an edge, keep preparing. This is slower than painting, but it is where a durable result is won or lost.
Choose a compatible primer and pool paint
Primer requirements are based on the substrate, the condition of the old coating and the paint system being used. Bare concrete, exposed fibreglass, sound old paint and patched areas may each need different treatment. This is why a single “pool paint” recommendation without surface details is rarely reliable.
A two-pack epoxy system can be a suitable choice where the existing coating and substrate are properly prepared for epoxy. It is commonly selected for repainting projects that need a high-performance pool coating, but it must be mixed and applied exactly as directed. Once the two components are combined, the product has a limited working time. Mix only what can be applied within that period.
Chlorinated rubber pool paint can be appropriate for compatible existing chlorinated rubber surfaces and selected repainting situations. It is not a universal shortcut for every old pool coating. Confirm whether it is compatible with what is already on the steps before purchasing.
Use the relevant product page and technical information to select the full system: coating, compatible primer if required, colour and quantity. If the pool steps are only one part of a full repaint, select the system for the entire pool rather than treating the steps as a separate paint job. A visible colour or gloss difference between steps and walls is difficult to hide.
Apply the coating carefully around edges and corners
Stir or mix the product as directed, then apply it evenly to the prepared steps. Start at the upper step and work downwards so you are not leaning on fresh coating. A brush is useful for tight corners, vertical risers and around returns, while a roller can help achieve an even finish across the broader tread areas.
Avoid trying to make one heavy coat cover every imperfection. Thick application can create runs on risers, uneven coverage on corners and problems with the coating’s intended performance. Apply the number of coats, recoat interval and application method specified for the chosen BG Coatings system.
Keep a wet edge where possible and check the steps from more than one angle before moving on. Step faces can look fully coated from above while still showing thin patches from the pool floor. Consistent coverage on the risers is especially important because those vertical surfaces receive direct visual attention.
Do not add thinners, extra solvent or another product unless the technical directions specifically permit it. Changing the mix or application method to make paint easier to spread can reduce film build and affect the result.
Calculate enough paint for the full pool
Steps are easy to underestimate because each one has a horizontal tread and vertical riser. Measure both surfaces, along with the pool floor, walls, benches, ledges and other painted areas. Include the full area being recoated, not just the most visibly worn sections.
The Pool Paint Calculator is the practical starting point for working out coating and primer quantities. Enter accurate pool dimensions, then account for stairs, deep ends and features that add surface area. Ordering too little product can leave you short during application or encourage thin coats. Ordering based only on the pool’s water volume is not accurate because paint coverage is calculated from surface area.
If your pool has wide entry steps, curved Roman-style steps, a beach entry or extensive benches, provide the measurements when seeking product advice. These features can materially change the quantity required.
Common mistakes that cause freshly painted steps to fail
The most common mistake is coating over loose paint. The second is selecting a product based on what is easiest to buy rather than what is compatible with the old coating. Other avoidable issues include painting over damp concrete, skipping required primer, applying too thinly, missing recoat windows and starting work without enough product to complete the specified system.
Another problem is treating the steps as a small patch repair when the same coating failure is developing across the pool. If peeling is visible on the steps and walls, investigate the full shell before buying paint. A properly planned repaint is generally better value than repeatedly touching up small failures.
Before ordering, identify the substrate and old coating, measure the full painted area using the Pool Paint Calculator, then confirm the correct BG Coatings paint and primer system for your situation. That preparation gives your pool steps the best chance of holding a clean, even finish instead of becoming the first area to peel again.