
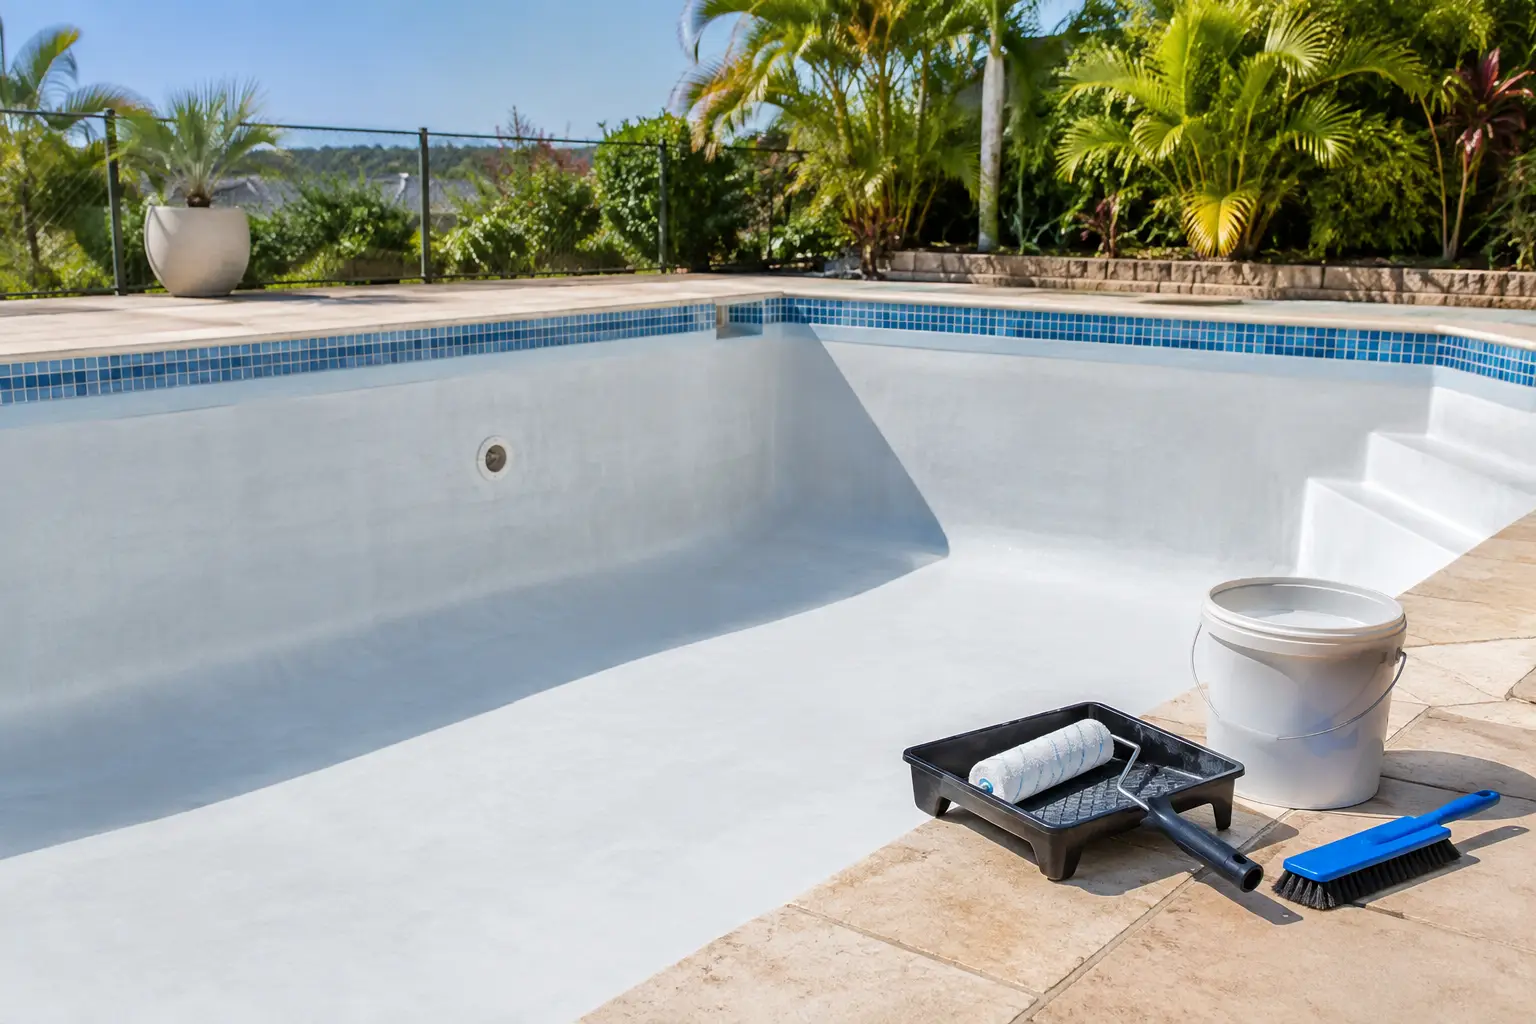
A pool can look ready for paint long before it is actually ready. If you apply chlorinated rubber paint over loose coating, chalky residue or an unknown finish, the fresh colour may hide the problem briefly, then peel or blister when the pool is returned to service. The coating is only as reliable as the surface beneath it.
Chlorinated rubber pool paint can be a practical repainting option when it suits the existing coating and the surface has been prepared properly. It is not a shortcut around failed paint, damp concrete or incompatible products. Start by confirming what is on the pool now, then build the correct coating system from there.
Check whether chlorinated rubber is the right system
The first question is not which colour to buy. It is whether chlorinated rubber pool paint is compatible with the existing coating. This is where many repainting jobs go wrong.
If the pool has previously been painted with chlorinated rubber, repainting with a compatible chlorinated rubber system is often the straightforward path, provided the old coating is still sound after preparation. If the existing finish is epoxy, acrylic, unknown or badly deteriorated, do not assume chlorinated rubber can go directly over it. Different coatings adhere and react differently, and the wrong combination can lead to lifting, softening or early failure.
A small test area can help assess the existing paint, but it does not replace checking the manufacturer’s product information for the intended system. If you cannot identify the old coating, take a cautious approach before ordering. The practical options may be to seek technical guidance, use a specified primer where suitable, or remove failed and incompatible coating rather than burying it beneath a new layer.
Concrete and fibreglass need different checks
For a concrete pool, look for bare areas, porous patches, previous repairs, efflorescence and signs of moisture. A coating cannot correct structural cracking or a substrate that is still damp. Any underlying repair issue needs to be resolved before a coating system is selected.
For fibreglass pools, the condition of the existing finish is just as important. The surface must be stable, clean and properly abraded where the product directions require it. Do not treat fibreglass like bare masonry, and do not use an acid-etching approach unless the relevant product instructions specifically call for it.
Primer requirements depend on the surface and the coating system. Bare concrete, aged paint, exposed repair areas and fibreglass can each require a different approach. Select a compatible primer only after confirming the existing surface and the chlorinated rubber product you plan to use.
Surface preparation is where adhesion is won or lost
Most peeling paint problems begin before the tin is opened. Applying a premium pool coating over contamination, weak paint or moisture simply gives the new coating a weak foundation.
Start with an empty pool. Remove loose, flaking and poorly bonded paint completely. Pay close attention to steps, corners, waterline areas, fittings and patches, where old coatings commonly fail first. Feather firm edges so the new coating is not sitting against sharp paint ridges.
The remaining sound coating needs to be cleaned and mechanically keyed as required by the product data. Dirt, oils, sunscreen residue, powdery oxidation and fine dust can all interfere with adhesion. Wash thoroughly, rinse away residue and allow the surface to dry fully. Sweeping or blowing out dust before painting is not optional – dust left in the pool becomes part of the coating film.
For bare or highly porous concrete, follow the specified cleaning and preparation method for the primer or paint system. Concrete preparation is not a one-size-fits-all task. Some surfaces need more work than others, especially older pools with several previous paint layers.
Do not paint over these warning signs:
- paint that comes away under scraping or sanding
- bubbling, blistering or soft patches in the existing coating
- visible dampness, moisture marks or active seepage
- chalky residue that transfers easily to your hand
- unaddressed cracks or defects in the substrate
Those issues need a cause-based fix, not another coat of paint. If you cover them, the new coating is likely to fail in the same places.
Plan the job before you open the paint
Australian weather can change quickly, particularly in Sydney and coastal NSW. Choose a stable application window and check the product directions for acceptable surface temperature, air temperature, humidity and drying conditions. Avoid painting when rain, heavy dew, extreme heat or unsuitable conditions are likely to affect application or drying.
Bring enough product to site before starting. Stopping part-way through because there is not enough paint can create uneven appearance and makes it harder to maintain the required coat build. Use the Pool Paint Calculator at Pool Paint Sydney to estimate the paint and primer quantity based on the pool dimensions, then allow for the actual surface condition and the coating system selected.
Read the product label and technical information before application. Confirm the approved application method, thinning instructions if any, coat sequence and recoat window. Chlorinated rubber paint is generally easier to use than a two-pack epoxy system because it does not require a separate hardener mix, but it still needs correct stirring, film build and drying time between coats.
How to apply chlorinated rubber paint properly
Once the pool is clean, dry, sound and correctly primed where required, the application itself should be methodical rather than rushed.
- Stir the paint thoroughly. Pigments and solids settle in the tin. Mix until the product is uniform, including material from the bottom and sides. Only thin the paint if the manufacturer’s instructions permit it, and use the specified thinner.
- Cut in difficult areas first. Work carefully around steps, corners, fittings and transitions. These areas are easy to miss and often receive less coating than broad wall sections.
- Apply an even coat at the recommended spread rate. Do not stretch the paint too far to make it cover more area. An overly thin film may look acceptable while wet but can leave inadequate protection and poor hiding once dry. Equally, heavy application can lead to runs, solvent trapping or uneven drying.
- Maintain a wet edge across walls and floors. Work in manageable sections so lap marks are minimised. Keep checking the surface from different angles, especially on the floor, where missed strips are common.
- Allow the required drying and recoat period. The next coat should only go on within the conditions and timing stated for the product. Applying too soon can trap solvent; waiting too long without the required preparation can reduce intercoat adhesion.
A pool coating system normally relies on multiple coats to achieve the intended film build. Follow the number of coats specified for the product rather than deciding by appearance alone. A single coat may brighten a tired pool, but it is not necessarily the complete system.
Avoid the mistakes that waste a repaint
The most expensive error is choosing paint based only on colour or price. A compatible coating system is more valuable than a product that seems easier to buy but does not suit the old finish.
Another common mistake is treating primer as optional without checking the substrate. Primer can be essential on particular bare, porous or difficult surfaces, while using the wrong primer can create an incompatibility of its own. Choose primer and topcoat as a matched system, not as separate purchases.
Do not rely on a calendar date alone when judging whether a pool is ready for the next stage. Drying is affected by weather, ventilation, film thickness and surface conditions. Follow the product documentation for recoating and return-to-service requirements, and do not fill the pool until the full coating system has cured as directed.
Chlorinated rubber or epoxy for your pool?
Chlorinated rubber is often considered for repainting pools with an existing compatible chlorinated rubber coating. It can be a sensible choice when the surface preparation is manageable and the system matches what is already on the pool.
Two-pack epoxy is a different coating system. It may be suitable where an epoxy system is required, but it involves more precise mixing and application control. It should not be selected or applied over another coating type on assumption alone. The right decision depends on the current surface, coating history, condition of the pool and the preparation you are prepared to complete.
Before ordering, identify the existing coating, measure the pool and use the Pool Paint Calculator to work out quantities. Then select the compatible chlorinated rubber paint and primer system from the relevant product pages. Taking those checks seriously is the simplest way to buy the correct system the first time and avoid repainting the same pool again sooner than expected.