
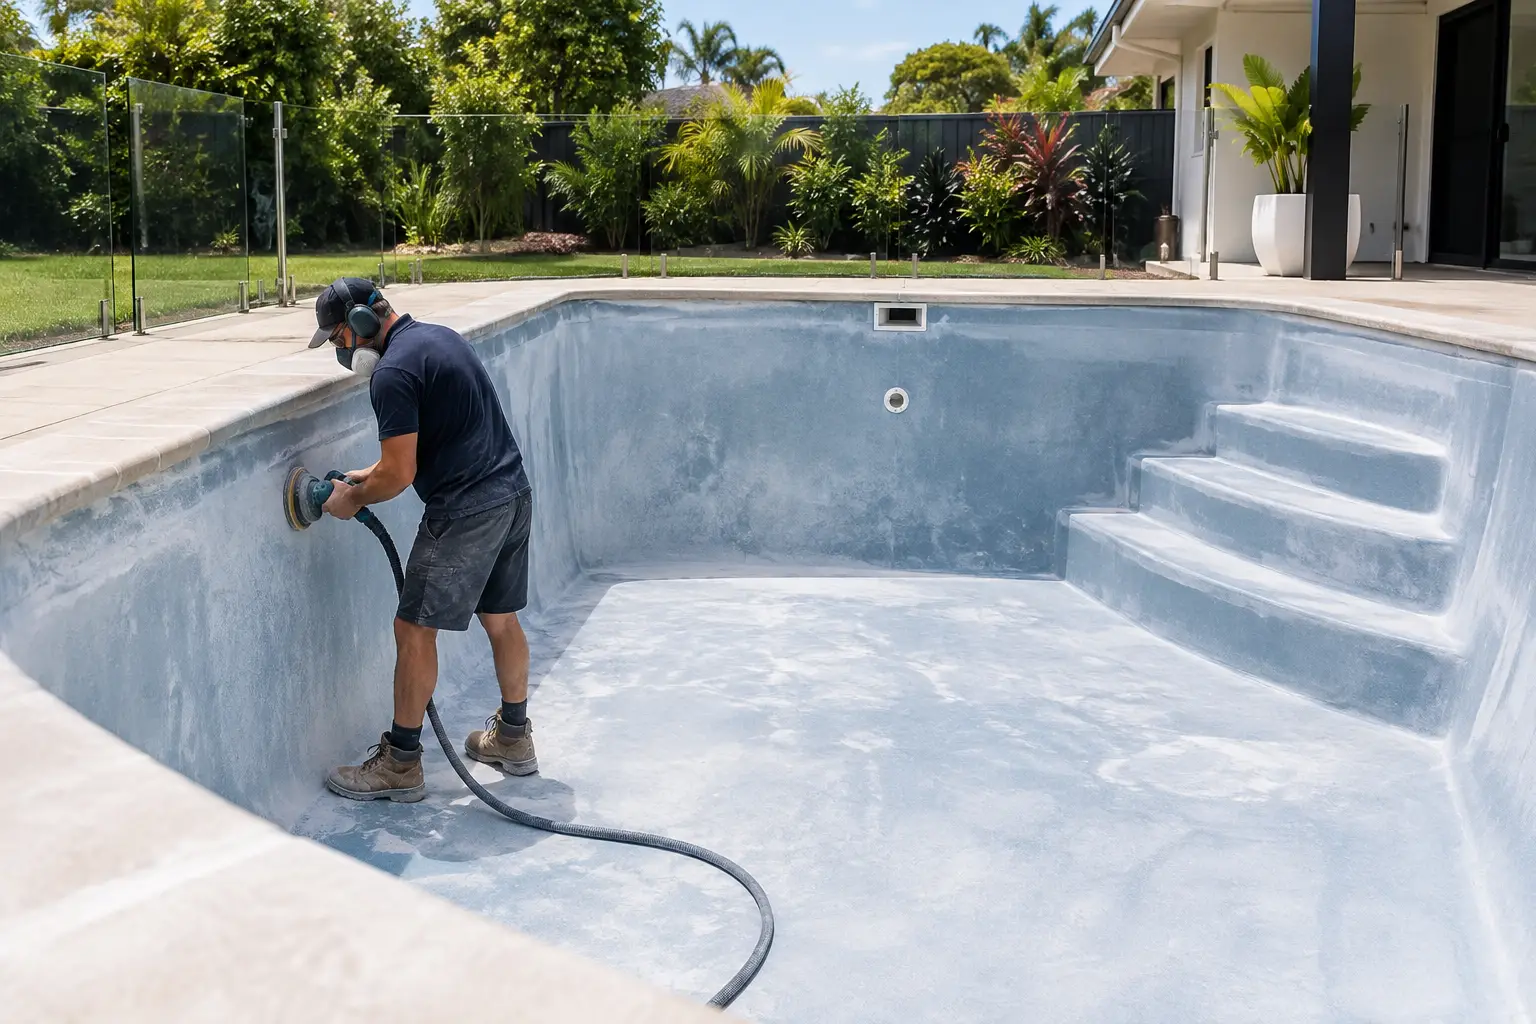
A fibreglass pool can look tired long before the shell itself has a problem. Fading, chalking, peeling patches and old repair areas often point to a coating issue, not a need for resurfacing. Knowing how to sand fibreglass pool coating correctly is what separates a sound repaint from a job that starts lifting after the first season.
Sanding is not about grinding the pool back aggressively. It is about removing failed material, creating a clean and even surface profile, and preparing that surface for a compatible primer and coating system. Get that sequence wrong and even quality pool paint can struggle to adhere.
First, identify what you are sanding
A fibreglass pool may have an exposed gelcoat surface, a previously painted coating, or a mixture of both after local repairs. These surfaces cannot all be prepared in the same way.
If the pool has old paint that is sound, firmly bonded and consistent across the shell, the job may only require cleaning, dulling the existing coating and applying a compatible system. If the coating is peeling, blistering, soft, cracking or coming away in multiple areas, sanding over it will not fix the underlying failure. The loose and unsound coating needs to be removed first.
The key question is not simply, “What paint do I want to use?” It is, “What is currently on the pool, and is it stable enough to paint over?” This determines whether you can recoat, need to strip back failed areas, or should use a primer as part of the system.
When the existing coating cannot be identified, do not assume it is compatible with the new paint. Incompatible coatings are a common cause of wrinkling, lifting and poor adhesion. Check the relevant product information and obtain technical guidance before ordering.
When sanding is the right preparation method
Sanding is generally used to degloss a sound existing coating, feather the edges around failed patches, and provide a keyed surface for the next coating layer. It is also useful after repairs where the surface needs to be levelled before priming.
The goal is a uniformly dull finish. Glossy areas can prevent a new coating from bonding properly, while heavily gouged areas create unnecessary work and may show through the finished surface.
Sand sound coatings to create a key
Where the existing coating is firmly bonded, clean and suitable for recoating, abrade it evenly rather than trying to remove it completely. Work methodically over walls, steps, floors, corners and around fittings. These are the areas often missed when preparation is rushed.
Use an abrasive grade suitable for dulling the surface without cutting deeply into the fibreglass. The exact abrasive and method should follow the coating system’s technical instructions. Hand sanding is often useful around tight areas, while suitable mechanical sanding equipment can speed up larger open sections when used carefully.
Do not leave polished or glossy islands behind. A pool may look evenly sanded under normal light but still have shiny areas around curves, steps and waterline sections. Check from different angles before moving on.
Feather failed edges, but do not hide them
Where old paint has lifted, sand the edge gradually so there is no sharp ridge between the remaining sound coating and the exposed area. This is called feathering. It helps create a smoother finish and reduces the chance of a visible edge through the new paint.
However, feathering is only suitable once all loose material is gone. If paint continues to release at the edge, keep removing it until you reach a firmly bonded surface. Painting over a coating that can be lifted with a scraper or tape is an expensive shortcut.
Avoid sanding through sound gelcoat unnecessarily
Fibreglass shells rely on their gelcoat surface. Aggressive sanding can damage that surface, expose fibres or create uneven areas that require further attention before coating. If you expose fibreglass strands, stop treating the area as a normal repaint preparation issue. It may require appropriate repair work before a coating system is applied.
Pool Paint Sydney supplies coatings and surface-preparation guidance, not structural or fibreglass repair services. Where shell damage, cracks or exposed fibres are present, have those issues assessed and properly repaired before proceeding with paint.
Preparation failures usually start before the first coat
Sanding alone does not make a pool ready for paint. Sanding dust, old coating residue, oils, body fats and other contamination can all interfere with adhesion. A surface can feel dry and look clean while still carrying residue that causes a coating problem later.
After sanding, remove all dust thoroughly and follow the cleaning and preparation steps specified for the chosen coating system. Pay close attention to ledges, corners, steps and the floor-to-wall junction, where dust can settle.
Do not paint over a surface that is damp, contaminated or not properly prepared. Sydney and NSW conditions can make timing important, particularly where overnight moisture, cool weather or high humidity affects drying. Allow the pool shell to dry as required by the product instructions, and plan the work around suitable weather conditions rather than forcing the job into a poor window.
Does a sanded fibreglass pool need primer?
It depends on the existing surface and the coating system being used. Primer is not an optional extra to add at random, and it is not a substitute for removing failed paint.
A compatible primer may be required where bare fibreglass or gelcoat is exposed, where repairs have been completed, or where the selected topcoat system specifies a primer for adhesion. In other situations, a sound existing compatible coating may be prepared and recoated according to the product instructions without a separate primer.
The wrong primer can create as many problems as no primer at all. It must be compatible with both the prepared surface and the final pool coating. Before ordering, confirm:
- whether the pool is bare fibreglass, gelcoat, previously painted, or a combination of surfaces
- whether the old coating is sound enough to remain
- the type of existing coating, if known
- whether exposed areas require a compatible primer
- whether your chosen topcoat is suitable over the prepared surface
For fibreglass pools, two-pack epoxy pool paint is often considered where a high-performance coating system is required, but suitability still depends on the substrate, preparation and existing coating. Chlorinated rubber pool paint can be appropriate for particular repaint situations, especially where system compatibility supports its use. Neither option should be chosen on colour or convenience alone.
Do not try to sand away a coating compatibility problem
A common mistake is assuming that heavy sanding makes any old paint safe to coat over. It does not. Sanding creates a mechanical key, but it cannot change the chemical compatibility between the old and new systems.
If the pool has a history of peeling, softening, blistering or repeated repainting with unknown products, take the time to identify the cause before applying another coat. The failure may come from inadequate earlier preparation, moisture, an incompatible recoating system, insufficient film build or a primer used incorrectly.
Applying another coating over a failed base only delays the problem. Remove unsound material, establish the real surface condition and select a complete compatible system. This approach takes longer at the preparation stage, but it prevents buying paint twice.
Calculate paint after you know the system
Do not order paint based on a rough guess of pool size. The amount required depends on the pool’s internal dimensions, the number of coats, product coverage guidance and whether primer is required on all or only part of the surface.
Use the Pool Paint Calculator once you have confirmed the right system. Measure the length, width and average depth carefully, including steps or benches where relevant. The calculator helps you work out the quantity of pool paint and compatible primer needed, reducing the risk of running short partway through the application or ordering unnecessary excess.
If substantial areas of failed coating have been removed, factor those exposed sections into the primer calculation. A patchy substrate may need a different preparation plan from a pool with a fully sound existing coating.
A better way to approach a fibreglass repaint
Before you start sanding, inspect the entire empty, dry pool in good light. Mark peeling areas, blisters, repairs and any sections that feel soft or unstable. Then decide whether the remaining coating is genuinely sound, not merely still attached in a few places.
From there, choose the coating system first, follow its preparation requirements, and use the Pool Paint Calculator to order the correct quantities. Review the fibreglass pool paint, epoxy pool paint, chlorinated rubber pool paint and compatible primer information before committing to a product.
A carefully sanded surface gives the next coating a proper foundation. The durable result comes from the full system: sound substrate, thorough preparation, compatible primer where required and the right pool paint applied as directed.