
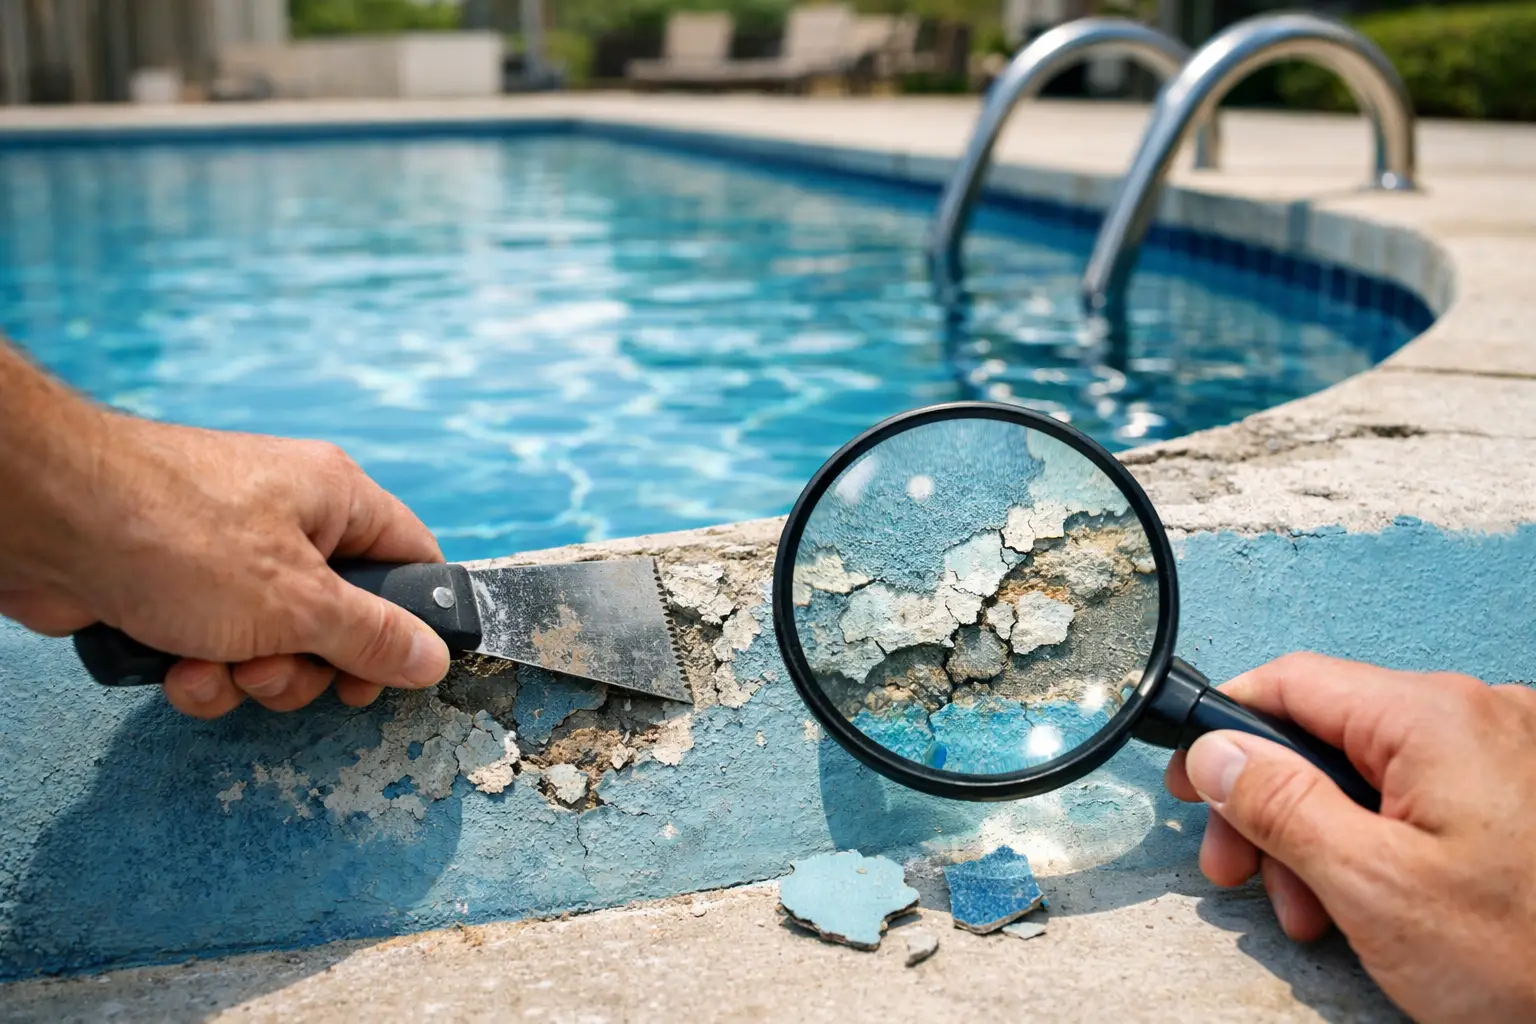
A pool coating rarely fails all at once. It normally starts with a few rough patches, a faded waterline, tiny bubbles or paint lifting around steps and corners. Knowing how to spot coating failure early can save you from a much bigger stripping and repainting job later.
For concrete and fibreglass pools, the key is working out whether you are looking at normal ageing, a surface contamination problem, or a coating system that has lost adhesion. Each needs a different fix. Painting over a failed surface without dealing with the cause is one of the quickest ways to waste money on pool paint.
How to spot coating failure before repainting
Start by inspecting the pool when it is empty, dry and in full daylight. Walk the entire surface rather than checking only the most obvious damaged section. Pay close attention to the waterline, steps, corners, around fittings, and any area that gets strong afternoon sun.
Ready to Repaint Your Pool?
Buy premium epoxy pool paint in Sydney with fast delivery and local pickup available.
Buy Pool Paint NowCoating failure is usually visible in one of these ways:
- Peeling or flaking paint that lifts in sheets or chips away at the edges.
- Blisters or bubbles under the coating, sometimes filled with moisture.
- Chalking, where coloured paint leaves a powdery residue on your hand or brush.
- Cracking, crazing or fine spider-web marks in the paint film.
- Patchy colour, fading or a rough, porous surface that holds dirt.
- Soft or tacky paint that can be marked with a fingernail after the pool has been drained and dried.
Not every mark means the whole pool needs to be stripped. A small chip caused by impact is different from widespread peeling across walls and floors. The pattern of the damage tells you far more than one isolated blemish.
Peeling and flaking: an adhesion problem
Peeling is the clearest sign that the existing coating is no longer properly bonded to the pool shell. You may see it around the skimmer, along the waterline, on stairs, or in large sheets across the floor.
The usual causes are poor surface preparation, painting over chalky or loose old paint, moisture in concrete, or applying an incompatible paint over the existing coating. For example, an epoxy system will not reliably bond to every old pool paint without proper preparation. If the previous coating is unknown, treat that as a risk rather than guessing.
Test the surrounding paint with a scraper or a firm piece of masking tape. If paint continues lifting beyond the obvious damaged edge, the failure is not local. Remove all loose material until you reach sound, firmly bonded coating or bare substrate. If large areas lift easily, complete removal may be the more reliable option.
Blisters: moisture, heat or contamination underneath
Blisters are raised bubbles in the coating. Some are small and scattered, while others can be several centimetres wide. When opened, they may reveal water, a damp surface, or a strong chemical smell.
In concrete pools, blistering often points to moisture vapour moving through the shell or paint being applied before the surface was dry enough. It can also happen when the pool was painted in unsuitable weather, when heat caused the top layer to cure too quickly, or when surface contaminants were trapped under the coating.
Do not simply sand the tops off and repaint. Open several blisters in different parts of the pool and check what is underneath. If the concrete is damp or the coating is loose around each blister, address the moisture and preparation issue before choosing a new epoxy system.
Chalking and fading: ageing that can become failure
Chalking happens when the surface of the old paint breaks down and leaves a dusty film. It is common on older coatings exposed to harsh sun, pool chemicals and regular brushing. In Sydney and across Australia, UV exposure can be especially hard on a neglected pool surface.
A faded pool does not automatically need full removal. If the paint is still firmly adhered, not soft, and not peeling, thorough cleaning and sanding may provide a suitable base for repainting. But chalk must be completely removed. New paint applied over a powdery surface is bonding to dust, not the pool.
Rub the dry surface with a dark cloth or your hand. If a visible powder transfers, wash, degrease and mechanically abrade the surface until it is clean and sound. This is one of the most overlooked steps in a repainting job.
Look for the cause, not just the damaged paint
The appearance of failed coating matters, but the cause matters more. Otherwise, the same problem comes back after the next repaint.
For concrete pools, inspect for cracks, hollow or drummy areas, signs of water seepage, and white mineral deposits. White salts or efflorescence can indicate moisture movement through the concrete. Repair structural cracks and resolve obvious water issues before coating the pool.
For fibreglass pools, check for flexing, gelcoat damage, osmosis blisters and areas where the surface feels soft. Fibreglass needs a compatible paint system and careful abrasion to create a proper mechanical key. Using the wrong paint or skipping preparation can lead to peeling even if the pool initially looks excellent.
Also consider the pool’s history. Ask these practical questions: Was the pool previously painted with epoxy, chlorinated rubber or another system? Was it recently acid washed? Has it sat empty for long periods? Has the water chemistry been difficult to control? Was the last paint job done during hot, wet or humid weather?
The answer often explains the failure.
How to tell whether the old coating can be painted over
A repaint is possible when the existing coating is clean, dry, stable and compatible with the new system. That does not mean it needs to look perfect. It means it must remain firmly attached after cleaning and sanding.
You can usually consider painting over the existing coating where minor chips are localised, the paint does not lift under scraping, there are no widespread blisters, and the surface can be abraded to a clean, dull finish. Any small damaged areas should be feathered back, repaired and prepared before the full coat goes on.
Full removal is usually the safer choice when peeling is widespread, the coating is soft or gummy, several paint layers are failing, moisture problems are evident, or the existing paint type is unknown and cannot be tested. It is more work upfront, but it avoids building a new coating system on an unreliable base.
There is a trade-off. Removing every layer costs time and labour, particularly on large concrete pools. But applying expensive epoxy pool paint over a surface that is already failing costs more when the job has to be redone.
The right fix for common pool coating failures
Once you have identified the failure, match the repair method to the problem.
For isolated chips and scratches, remove loose paint, sand the edges smooth, clean thoroughly and patch the area with a compatible epoxy coating. Then repaint the wider section if needed to maintain colour consistency.
For chalking without peeling, clean the pool thoroughly, remove all powdery residue, sand to create a keyed surface, rinse away dust and allow the shell to dry fully. A high-performance epoxy pool paint system is a strong choice where the existing paint is sound and the preparation has been done properly.
For widespread peeling, remove all failed material first. Do not rely on a primer to glue loose paint down. Epoxy coatings perform well when they are applied to a properly prepared, stable surface. They cannot correct poor adhesion underneath.
For blistering or suspected moisture, stop and investigate before ordering paint. The pool shell must be dry enough for the coating system, and any leak, groundwater or moisture-vapour issue needs to be considered. Technical advice is worthwhile here because the right preparation can differ between concrete and fibreglass pools.
Avoid the mistakes that cause a second failure
Most repeat coating failures come down to rushing preparation. The paint itself gets blamed, but the real issue is often dirt, chalk, moisture, incompatible old paint or incorrect mixing and application.
Clean chemical residue, sunscreen oils and algae staining from the pool surface before sanding. Sanding spreads contamination if the surface has not been cleaned first. After sanding, remove every trace of dust and let the pool dry according to the epoxy system requirements.
Measure and mix two-pack epoxy accurately. Do not estimate ratios, stretch the product too far, or apply coats outside the recommended recoat window. Apply enough paint for the specified coverage rate. A thin coat may look acceptable on day one but will wear faster and provide less protection against chemicals and surface abrasion.
Weather matters as well. Avoid painting when rain, high humidity, extreme heat or overnight condensation could affect curing. Pool painting is not a job to force through because the weekend is free.
Choose an epoxy system that suits your pool
If your inspection shows the pool is ready for repainting, choose the coating based on the substrate, condition of the existing paint and amount of preparation required. Concrete and fibreglass pools have different needs, and the correct system starts with knowing what is already on the surface.
For a properly prepared concrete or fibreglass pool, a quality epoxy pool coating provides strong adhesion, chemical resistance and a durable finish. Pool Paint Sydney supplies epoxy systems backed by BG Coatings and can help confirm the appropriate option before you buy. Have your pool dimensions, surface type, photos of the failed areas and details of any previous paint ready when seeking advice.
That small check before ordering can prevent the most expensive mistake in pool repainting: putting a new coat over a surface that was never ready to hold it.
Ready to Repaint Your Pool?
Buy premium epoxy pool paint in Sydney with fast delivery and local pickup available.
Buy Pool Paint Now